
SUPER SIMPLE MIDI KEYBOARD


you may notice the addition of 2 220r resistors, this is due to a number of people commenting about them not being there. Usually in these projects resistors are added to prevent possible damage to the opto isolator in the midi input circuit of whatever you plug this midi controller into, the midi standard does say to do this, so i don’t want anyone to break their synths. so add those 220r resistors to save a possibly broken midi input on your synthesiser!!!! and also don’t let me plug any of my midi gear into your synths as not many of my creations have these haha.
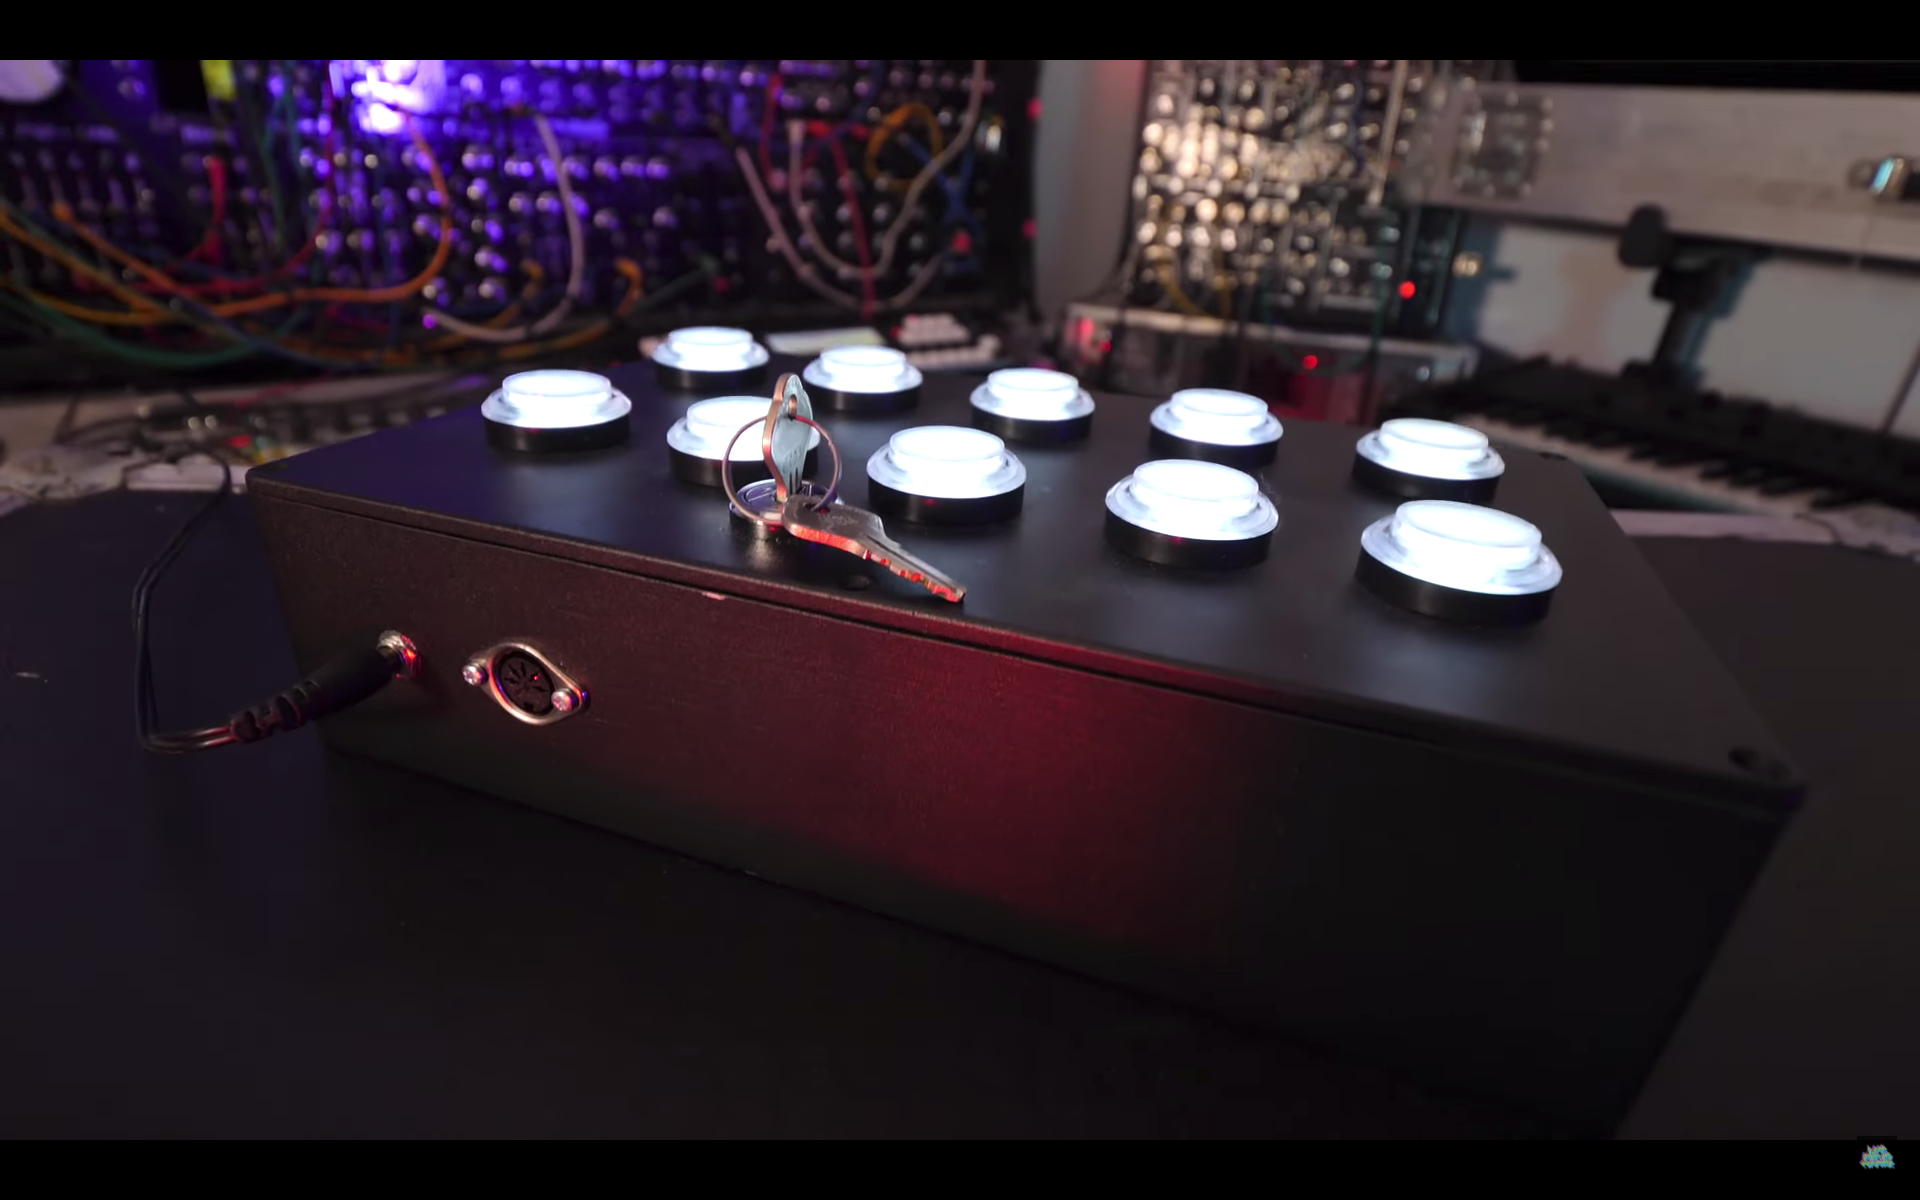
A LINK TO THE METAL ENCOSURES I USE OVER HERE
See how other people are getting on with this project over on the midi keyboard thread over on the look mum no computer forum
in the video the code was simplified somewhat, it will work! but there are some improvements which could have been made, for instance in the code above when you push a button it constantly sends midi on commands, and when its off it constantly sends midi off commands, this is fine if your just using the midi keyboard with a synth but when you hope to plug it into a bunch of things and have loads of midi going it could get a bit problematic, the code below is slightly improved it has an extra value that means when you push the button it only sends 1 midi on command, and when you take your finger off it only sends 1 midi off command.
There is more of this project to come, so keep your eyes peeled, one of the next videos is a slight progression on the project above.