
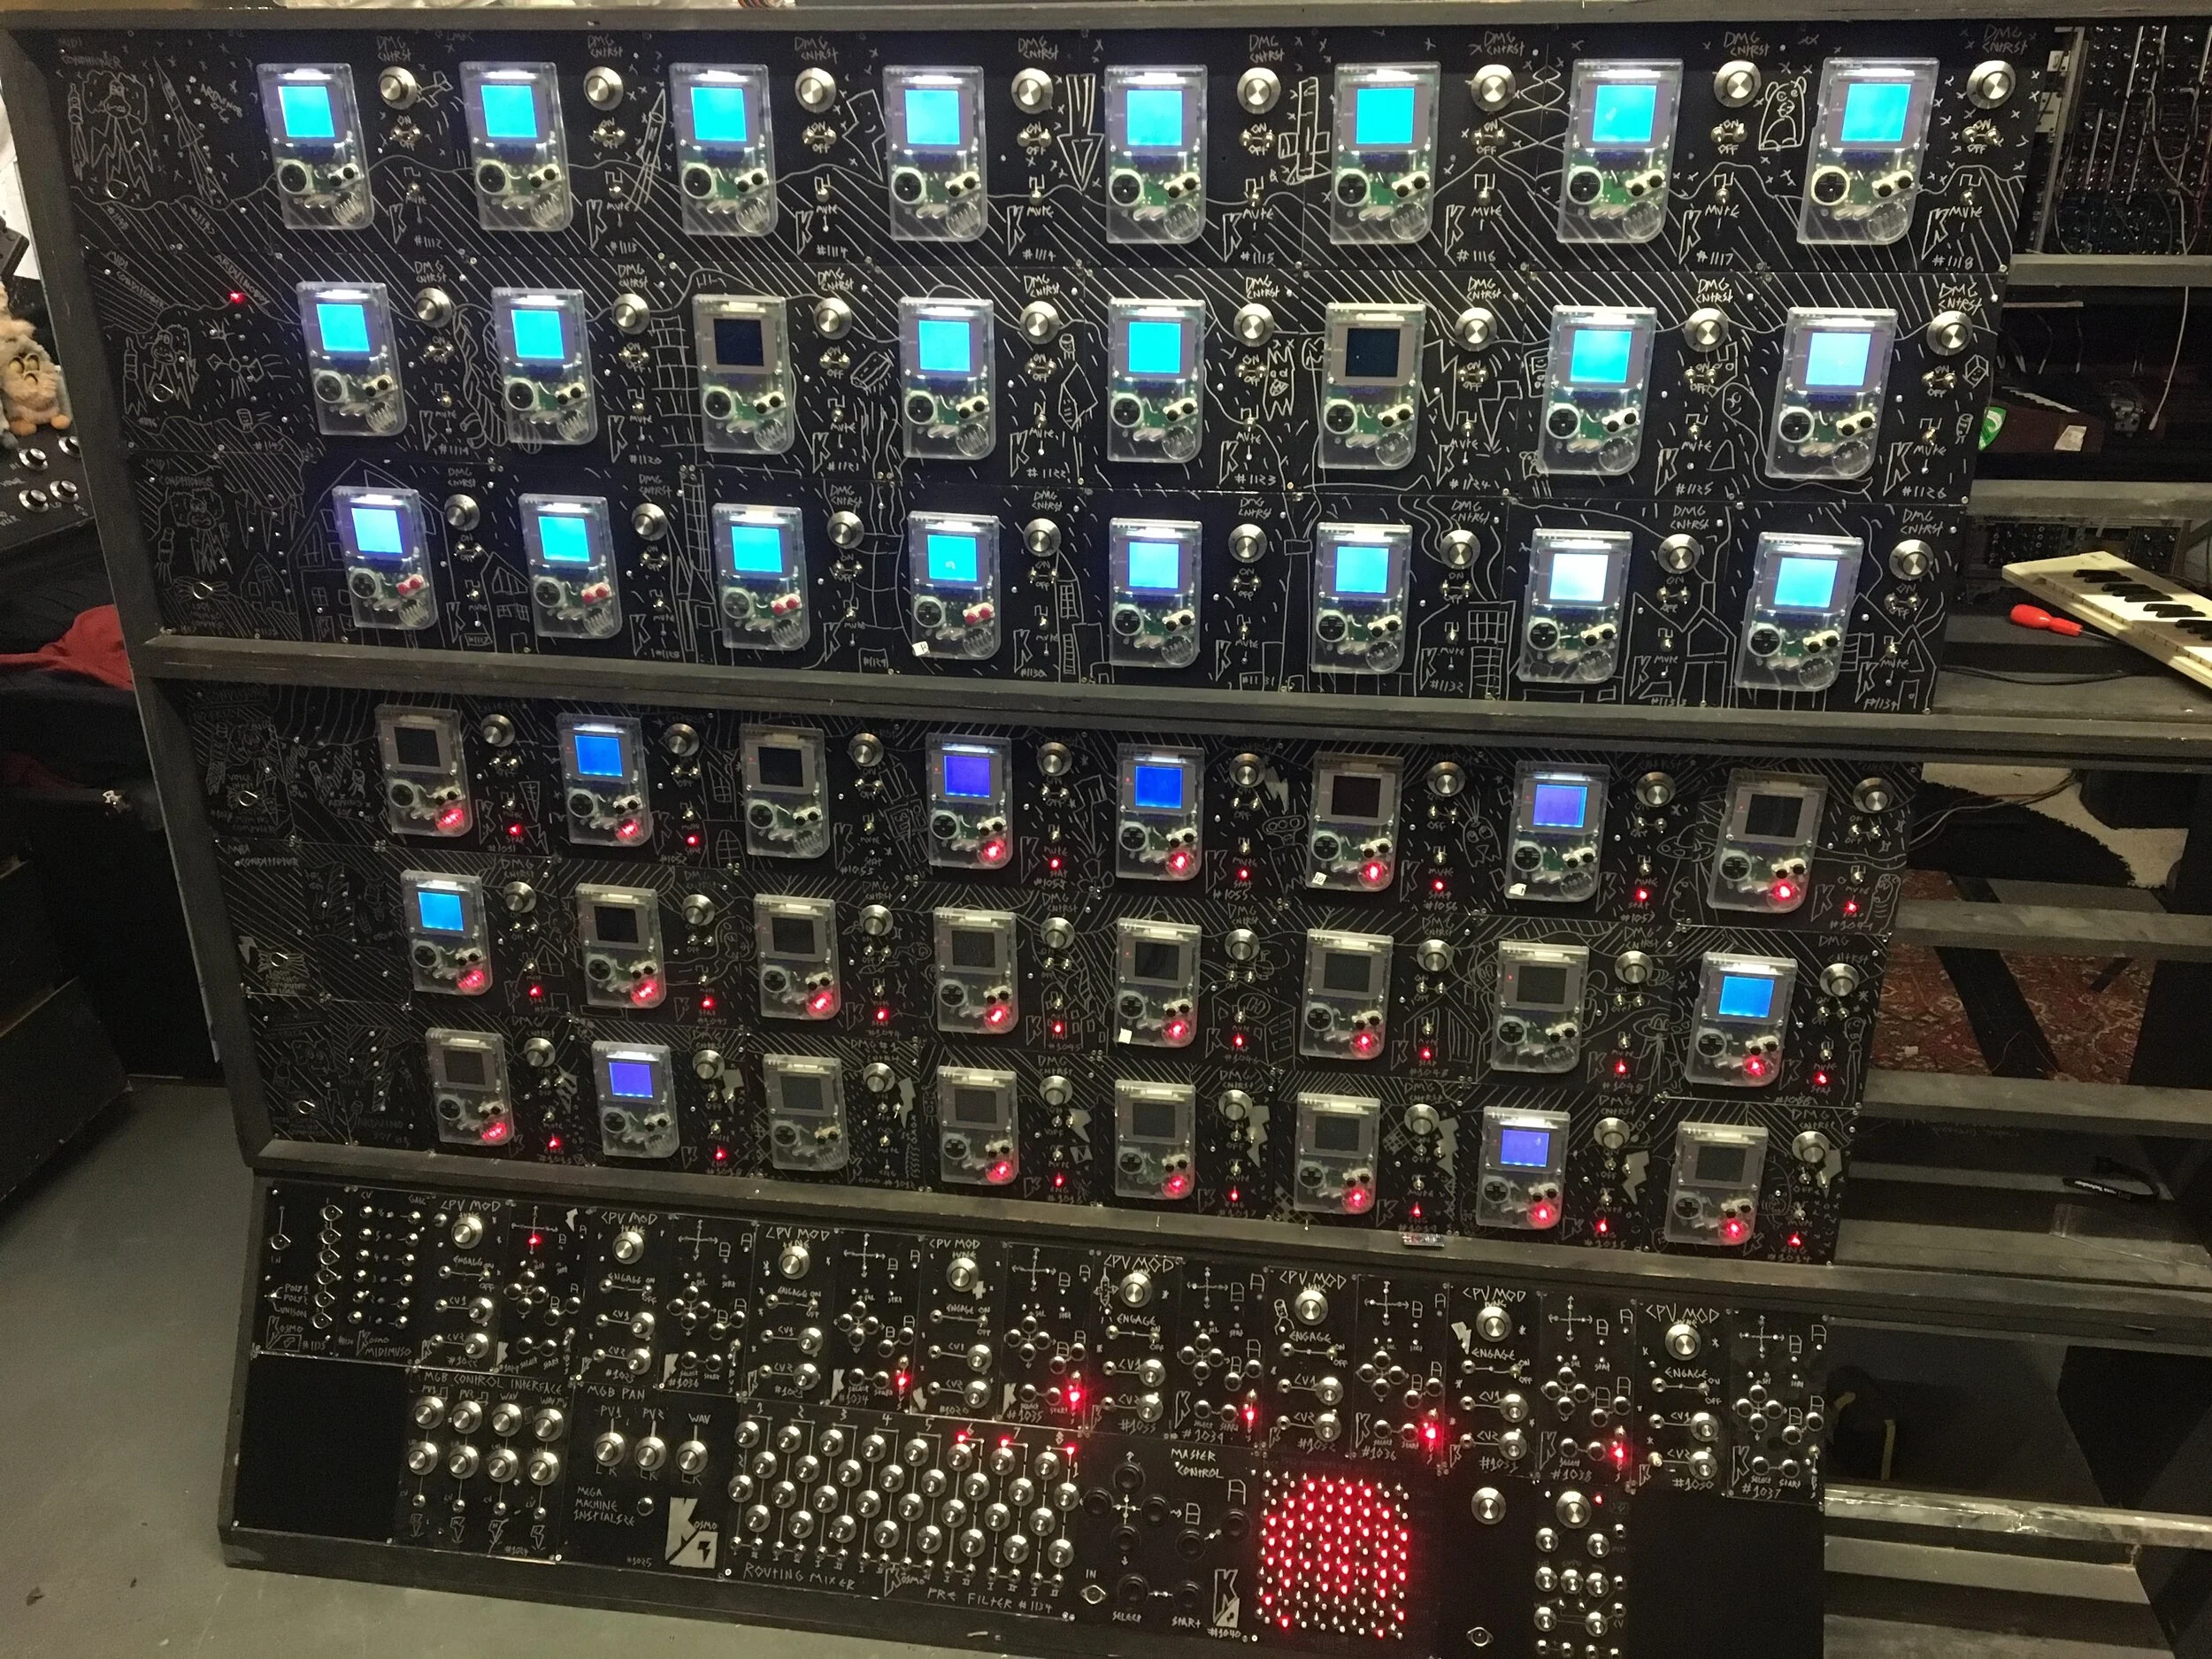
GAMEBOY MEGAMACHINE

gameboy megamachine
PART 15 POLY FILTER CONTROLLER
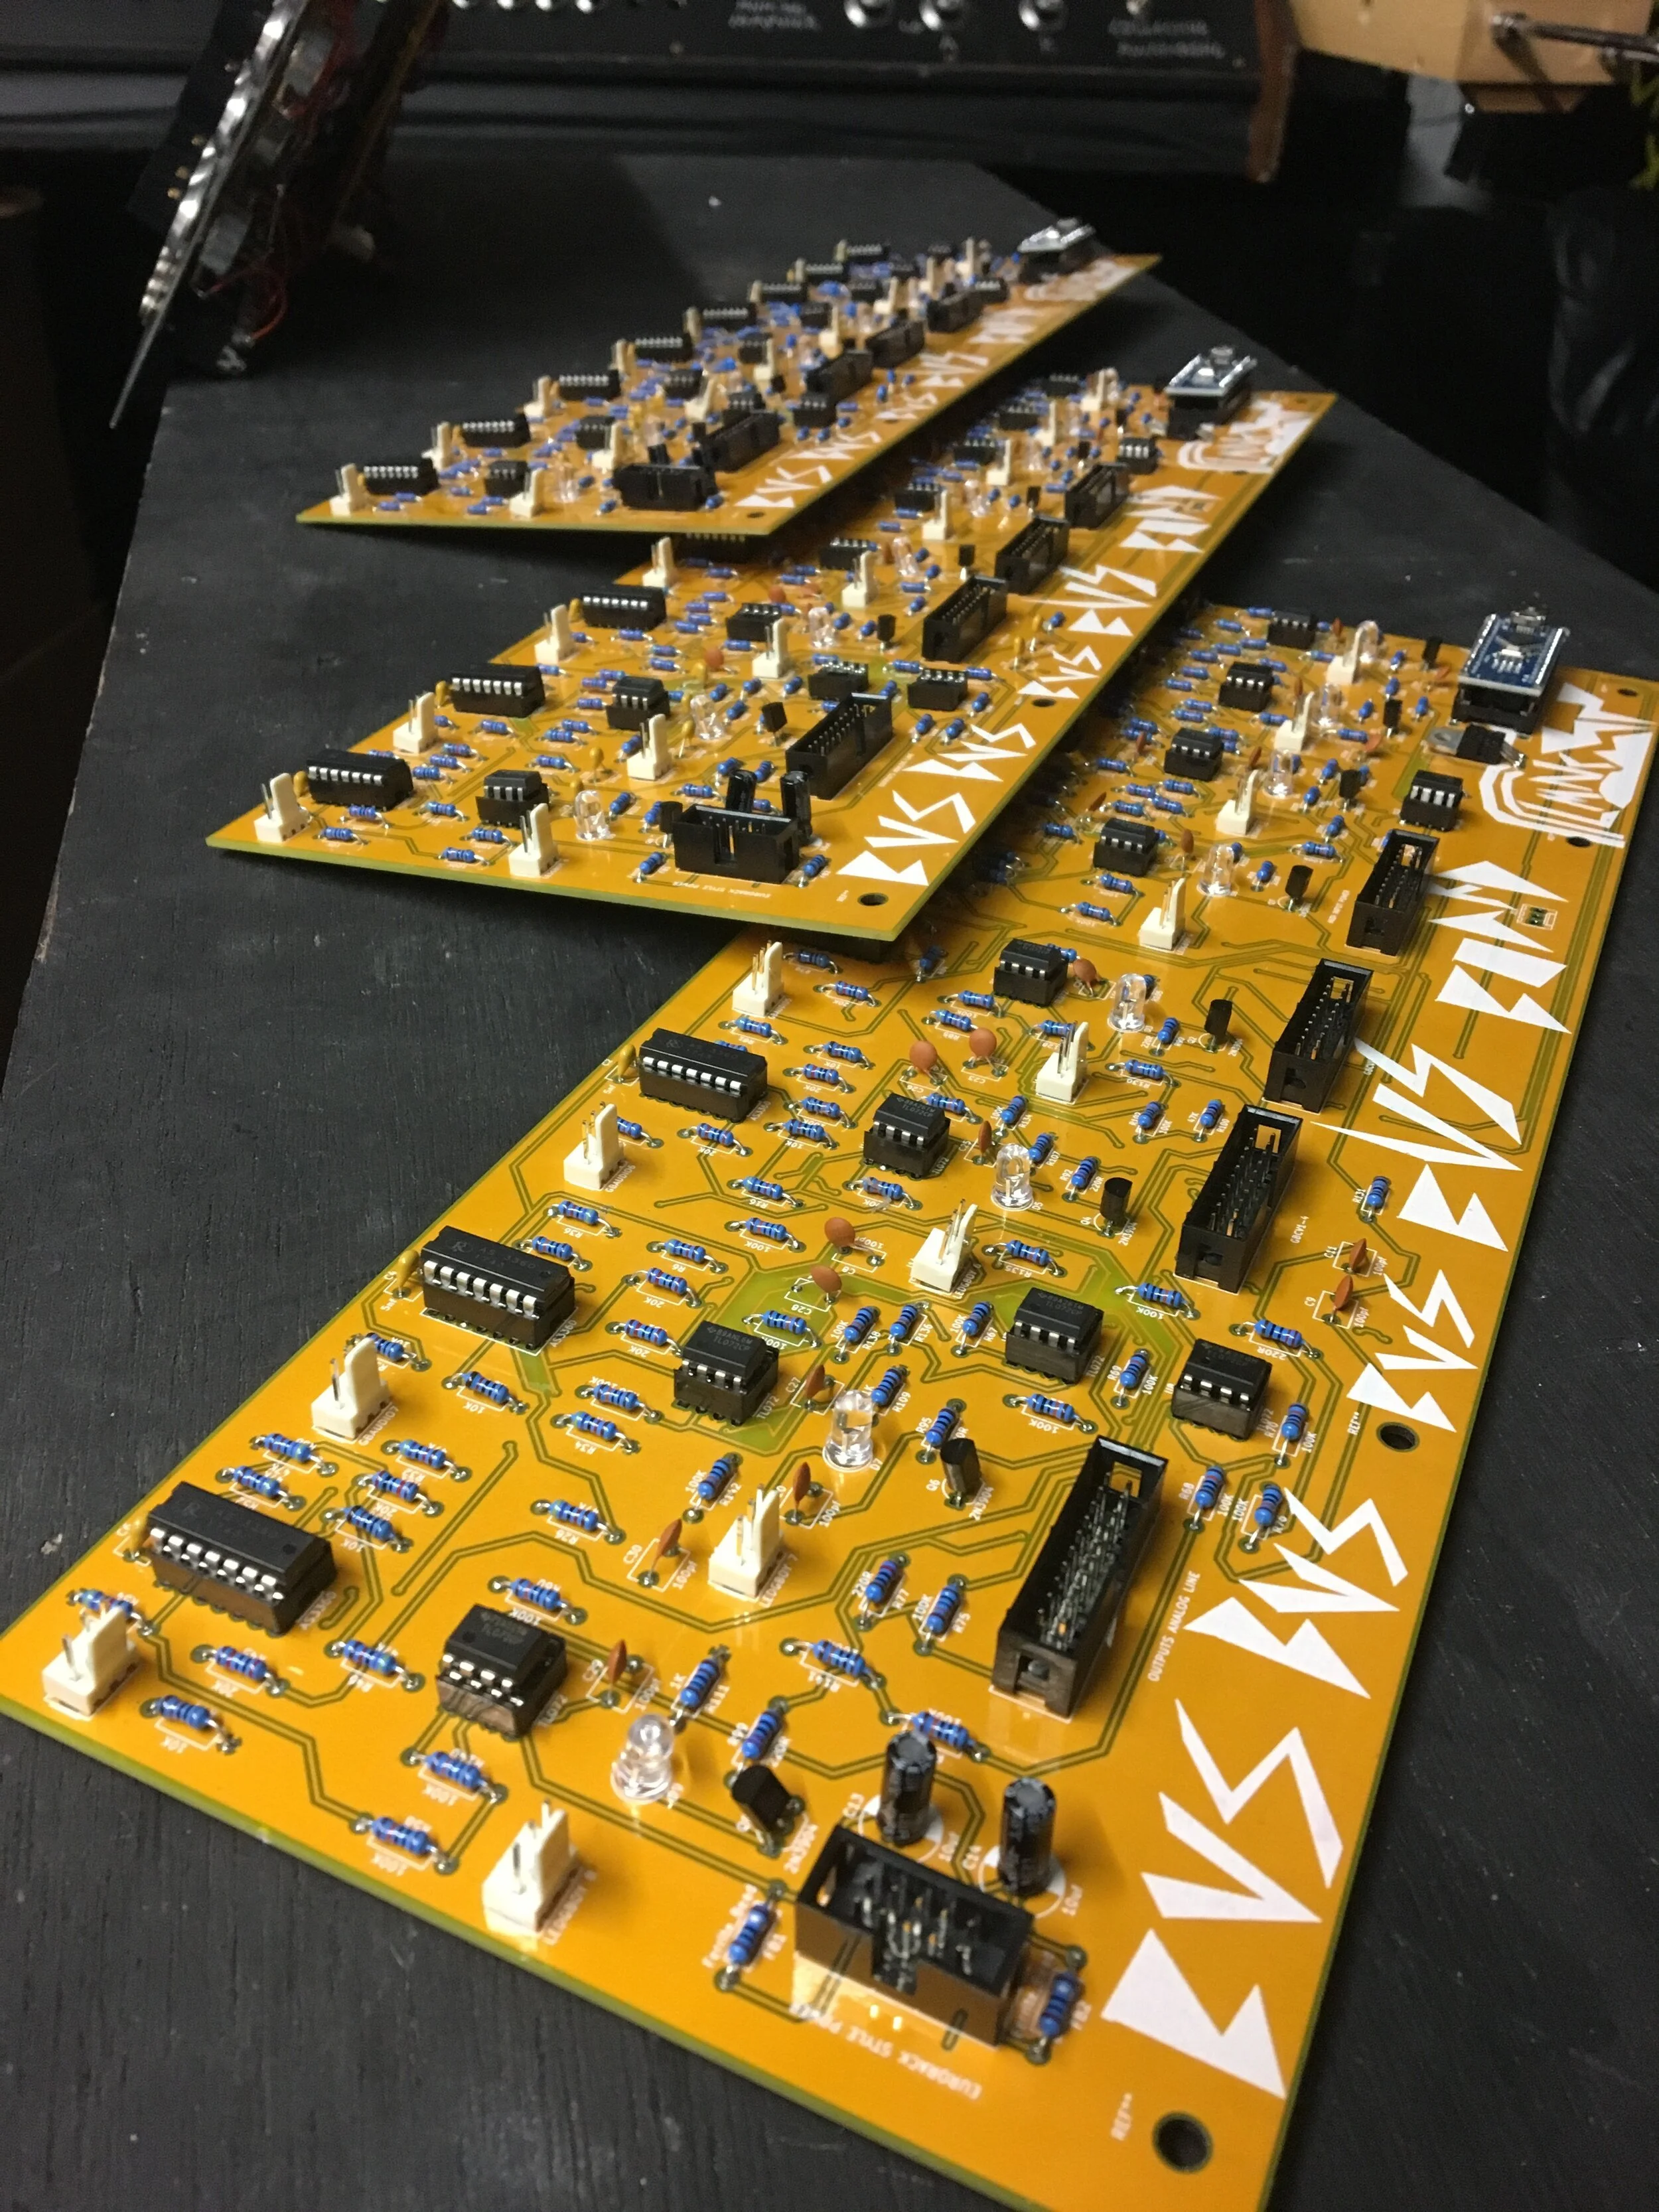
The poly filter controller is just 6 envelope generators behind the same knobs. below is the schematics, there were some last minute changes to this, also better ways of doing things, but i did it this way :). its as easy as 6 1157 envelope generators wired to the same knobs thats it. also some VCA’s for keyboard CV control. only used 1 side of a 3360 on each but i already designed it by the time i decided to design it on cards, so just not using 1 side of the chips made sense instead of redesigning.
PART 14 IPS screens are finally in the machine!
below are a couple of patreon build vlogs about the modification process qnd how i got to the final functioning mod.
below is a patreon livestream i did an hour after the previous video went up
Big thanks to DeadPan Robot and Kitschbent for some of the custom gameboy parts. deffo check out their sites!
https://www.deadpanrobot.co.uk
https://store.kitsch-bent.com/
a humungous project i hope to see the end of one day! if other things dont keep on getting in the bloody way!!!
PART 11
the filters. So yes! the next part of the epic voyage is the filters we begin to see in part 11
PART 9
in this video i talk about the whole shabang that is routing in the yet to be designed
Heres are a couple of vlog posts from building the parts for PART 9

PART 8
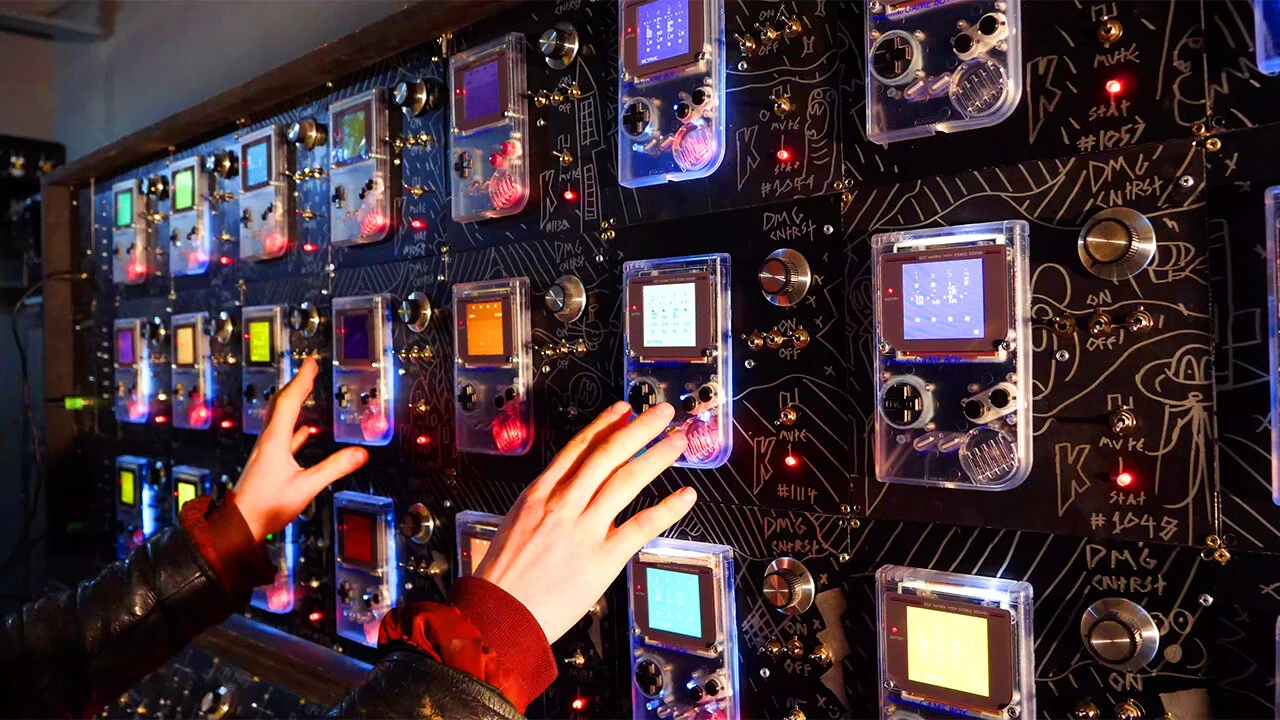
Making the backlights into a big screen
Below is the part where i finally get the flashy animations of the backlights working, this whole part was initially a massive after thought but as this project moved on, it just seemed worth while to make it happen!!! as this project has turning into something a lot more than initially expected. out the window is budget and time constraints haha. oh dear…..
so if you want to make an animation or what not i put out the offer to make stuff for the screen for me to compile a video together in a month or so from filming it to showcase what people have made! a lot of really cool things have come along already. including a couple of cool web based programes including these two
this one is by pascal bouwhuis and it allows you to make an animation then export it as a midi file, then just send me it! (contact on my contact page).
https://midi-animator.pascalbouwhuis.nl
also this one which is a real time sequencer which i havent tried yet but i should be able to plug in a midi interfact and use it to make patterns real time.
https://gameboy-megamachine-matrix.jontonsoup4.now.sh
theres a few different things. However a distinct lack of arduino programs for it. which is fine! but it would be awesome having an arduino code, you pop a few buttons into its inputs and its a game i can put behind a module!!! if you are up for the challenge! please go ahead. ill be making a big video for all the submissions in late october. here is a piece of code which fredrik (the kind fredrik of patreon he would like to be called), this code may be a useful start point for people ;-
ive also heard mention of an online one where we could make a livestream and people can submit things!!! all a work in progress, if you have cool ideas please get in touch :).
PART 7
Adding Polyphony
here is juha’s code mentionned in the video below! https://github.com/juhakivekas/midisplitter_2000
PART 6
Designing the Bus Boards
Right its the middle of september time to actually documenta whats actually going on. This is the first aspect i talk about in the video below. its the bus board. below you will see the schematic, just 16 VCA’s and 1 arduino wired up as a midi to Gameboy Backlight for 8 gameboys :). the code is embarrasingly awful so i wont share it. it doesnt even work on the modern arduino program!
This is what the bus boards look like. a row of 16 VCA’s and an arduino controlling 8 transistors which switch on and off the backlights
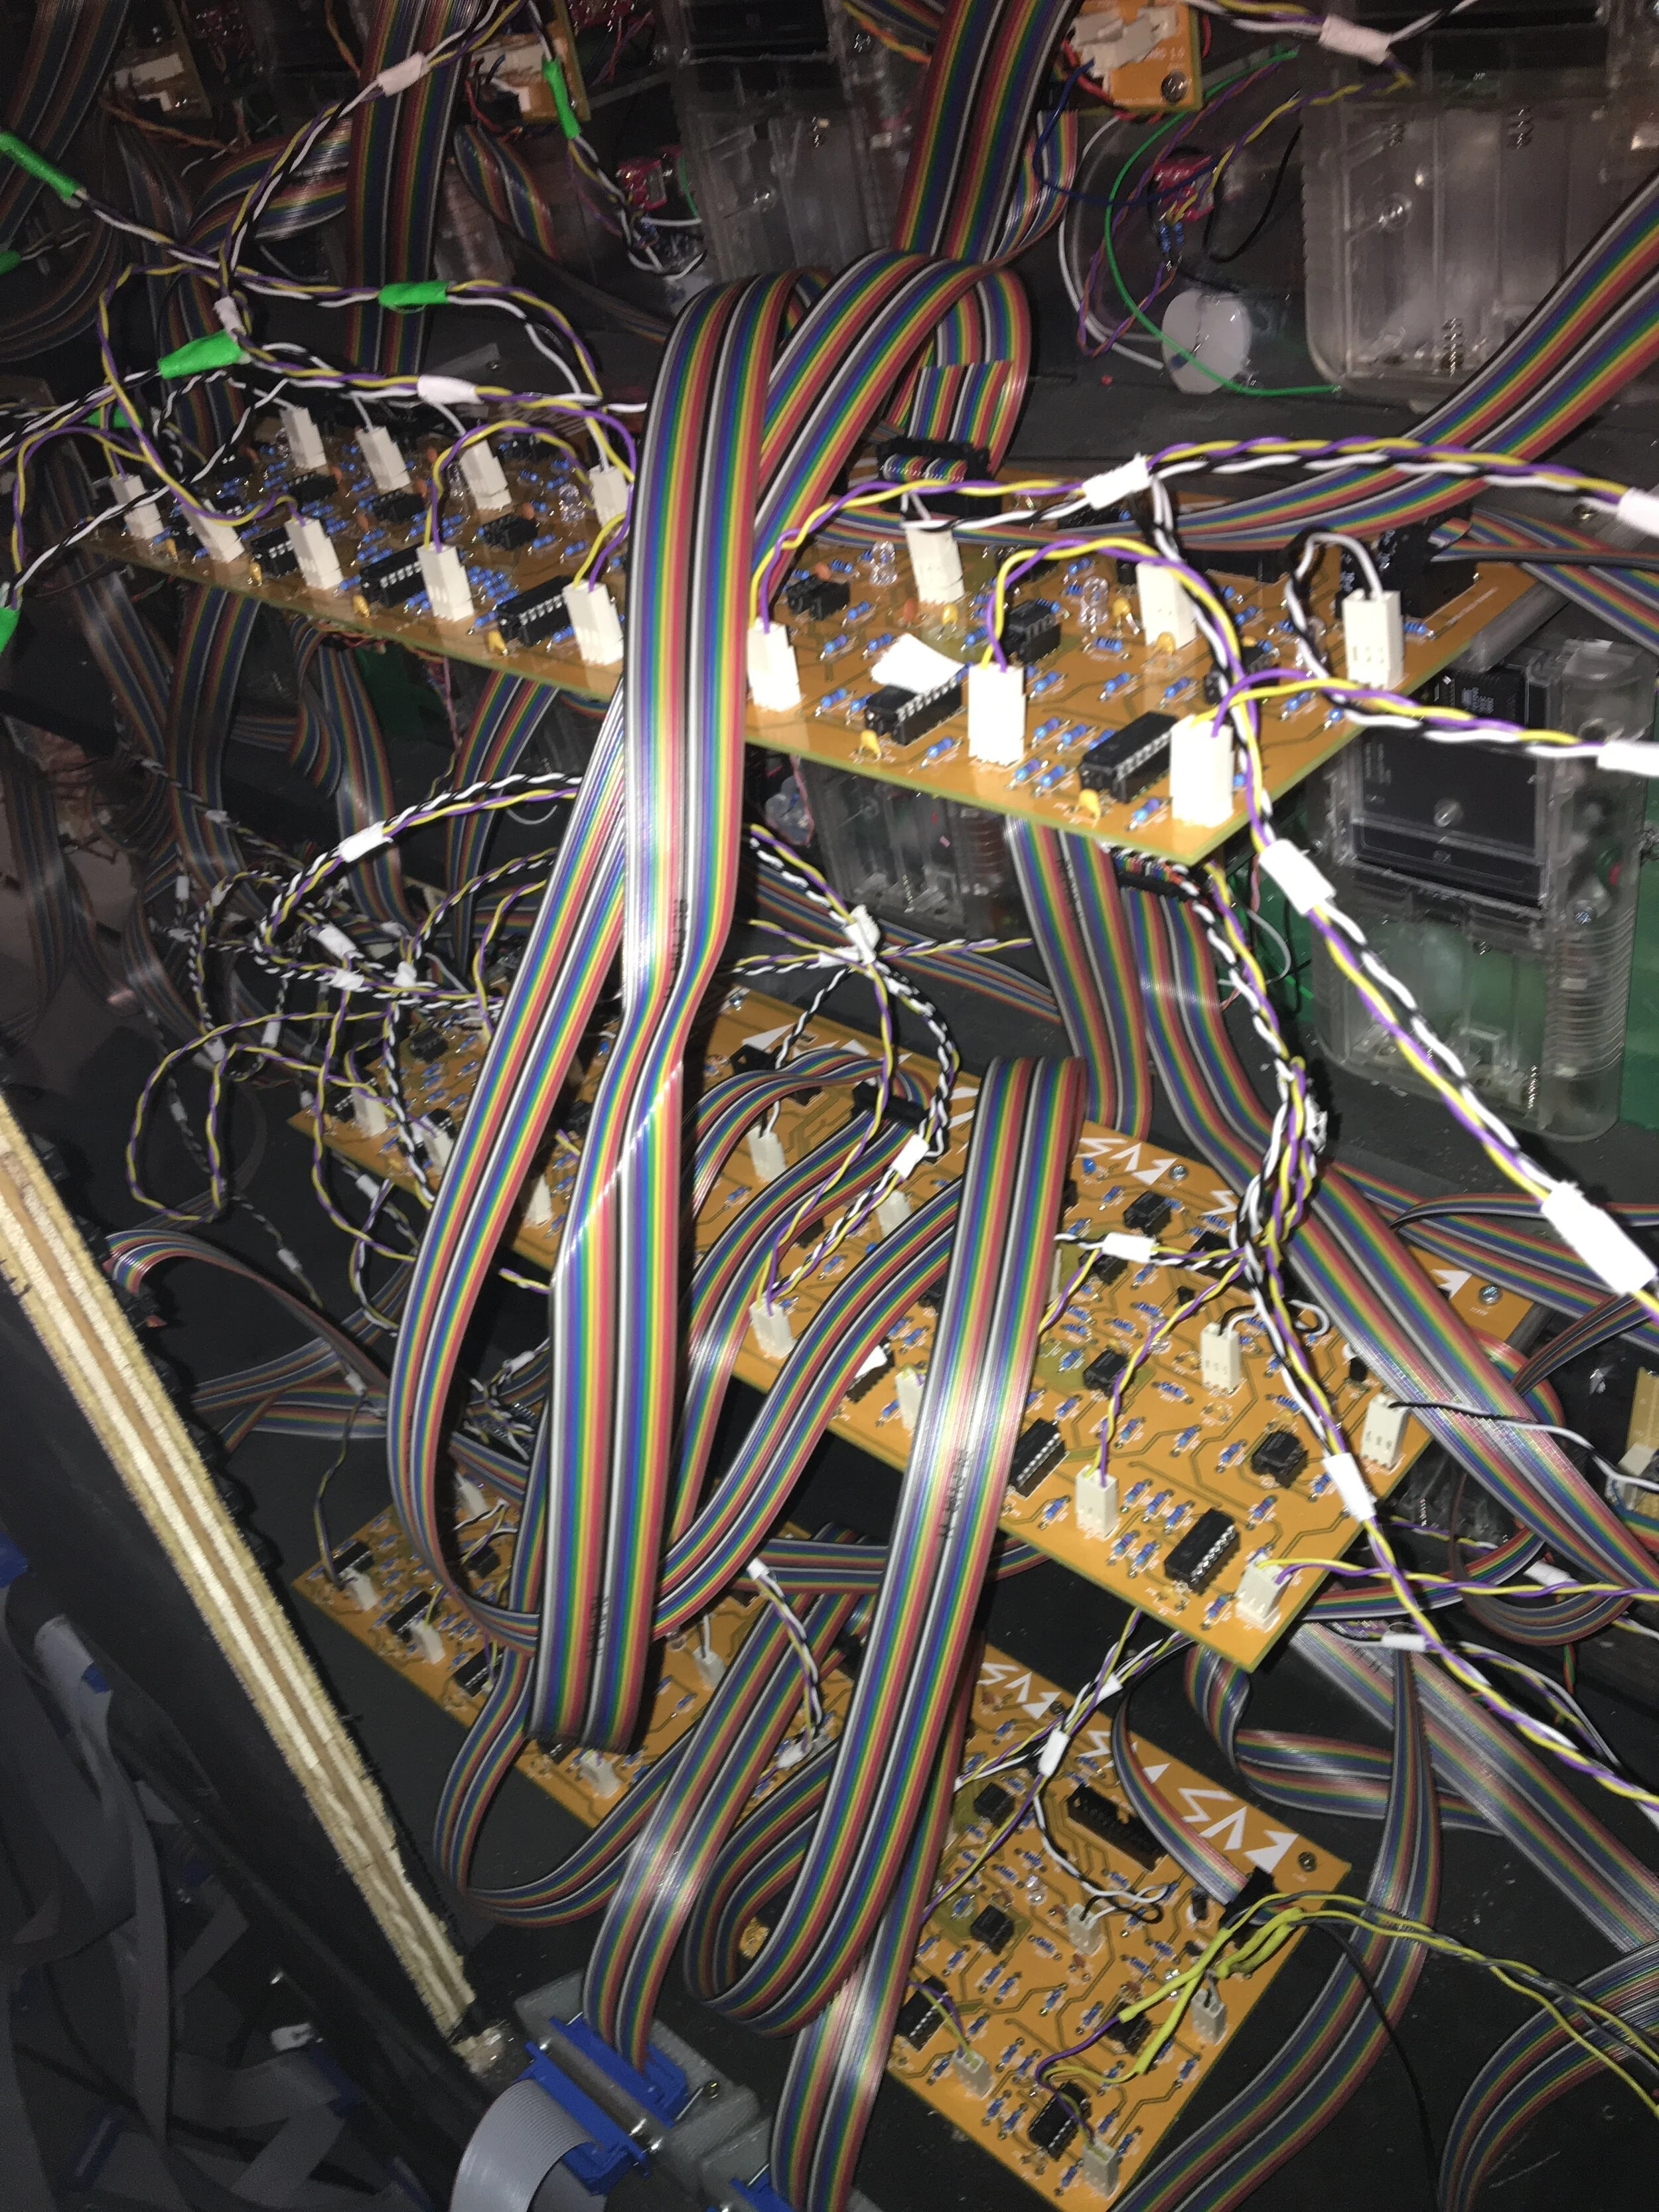
An image of 3 bus boards installed. many connections as you can see it gets busy very quickly!
This is the panel to control the levels of all of the gameboys, all it does is send voltage to all of the VCA’s mixing signals from the CV inputs and the voltage offset using this schematig :- https://www.elby-designs.com/webtek/cgs/cgs04/cgs04_mix.html

a pic of the back shows its just that circuit 16 times over. connected to the bus boards by massive ribbon connectors
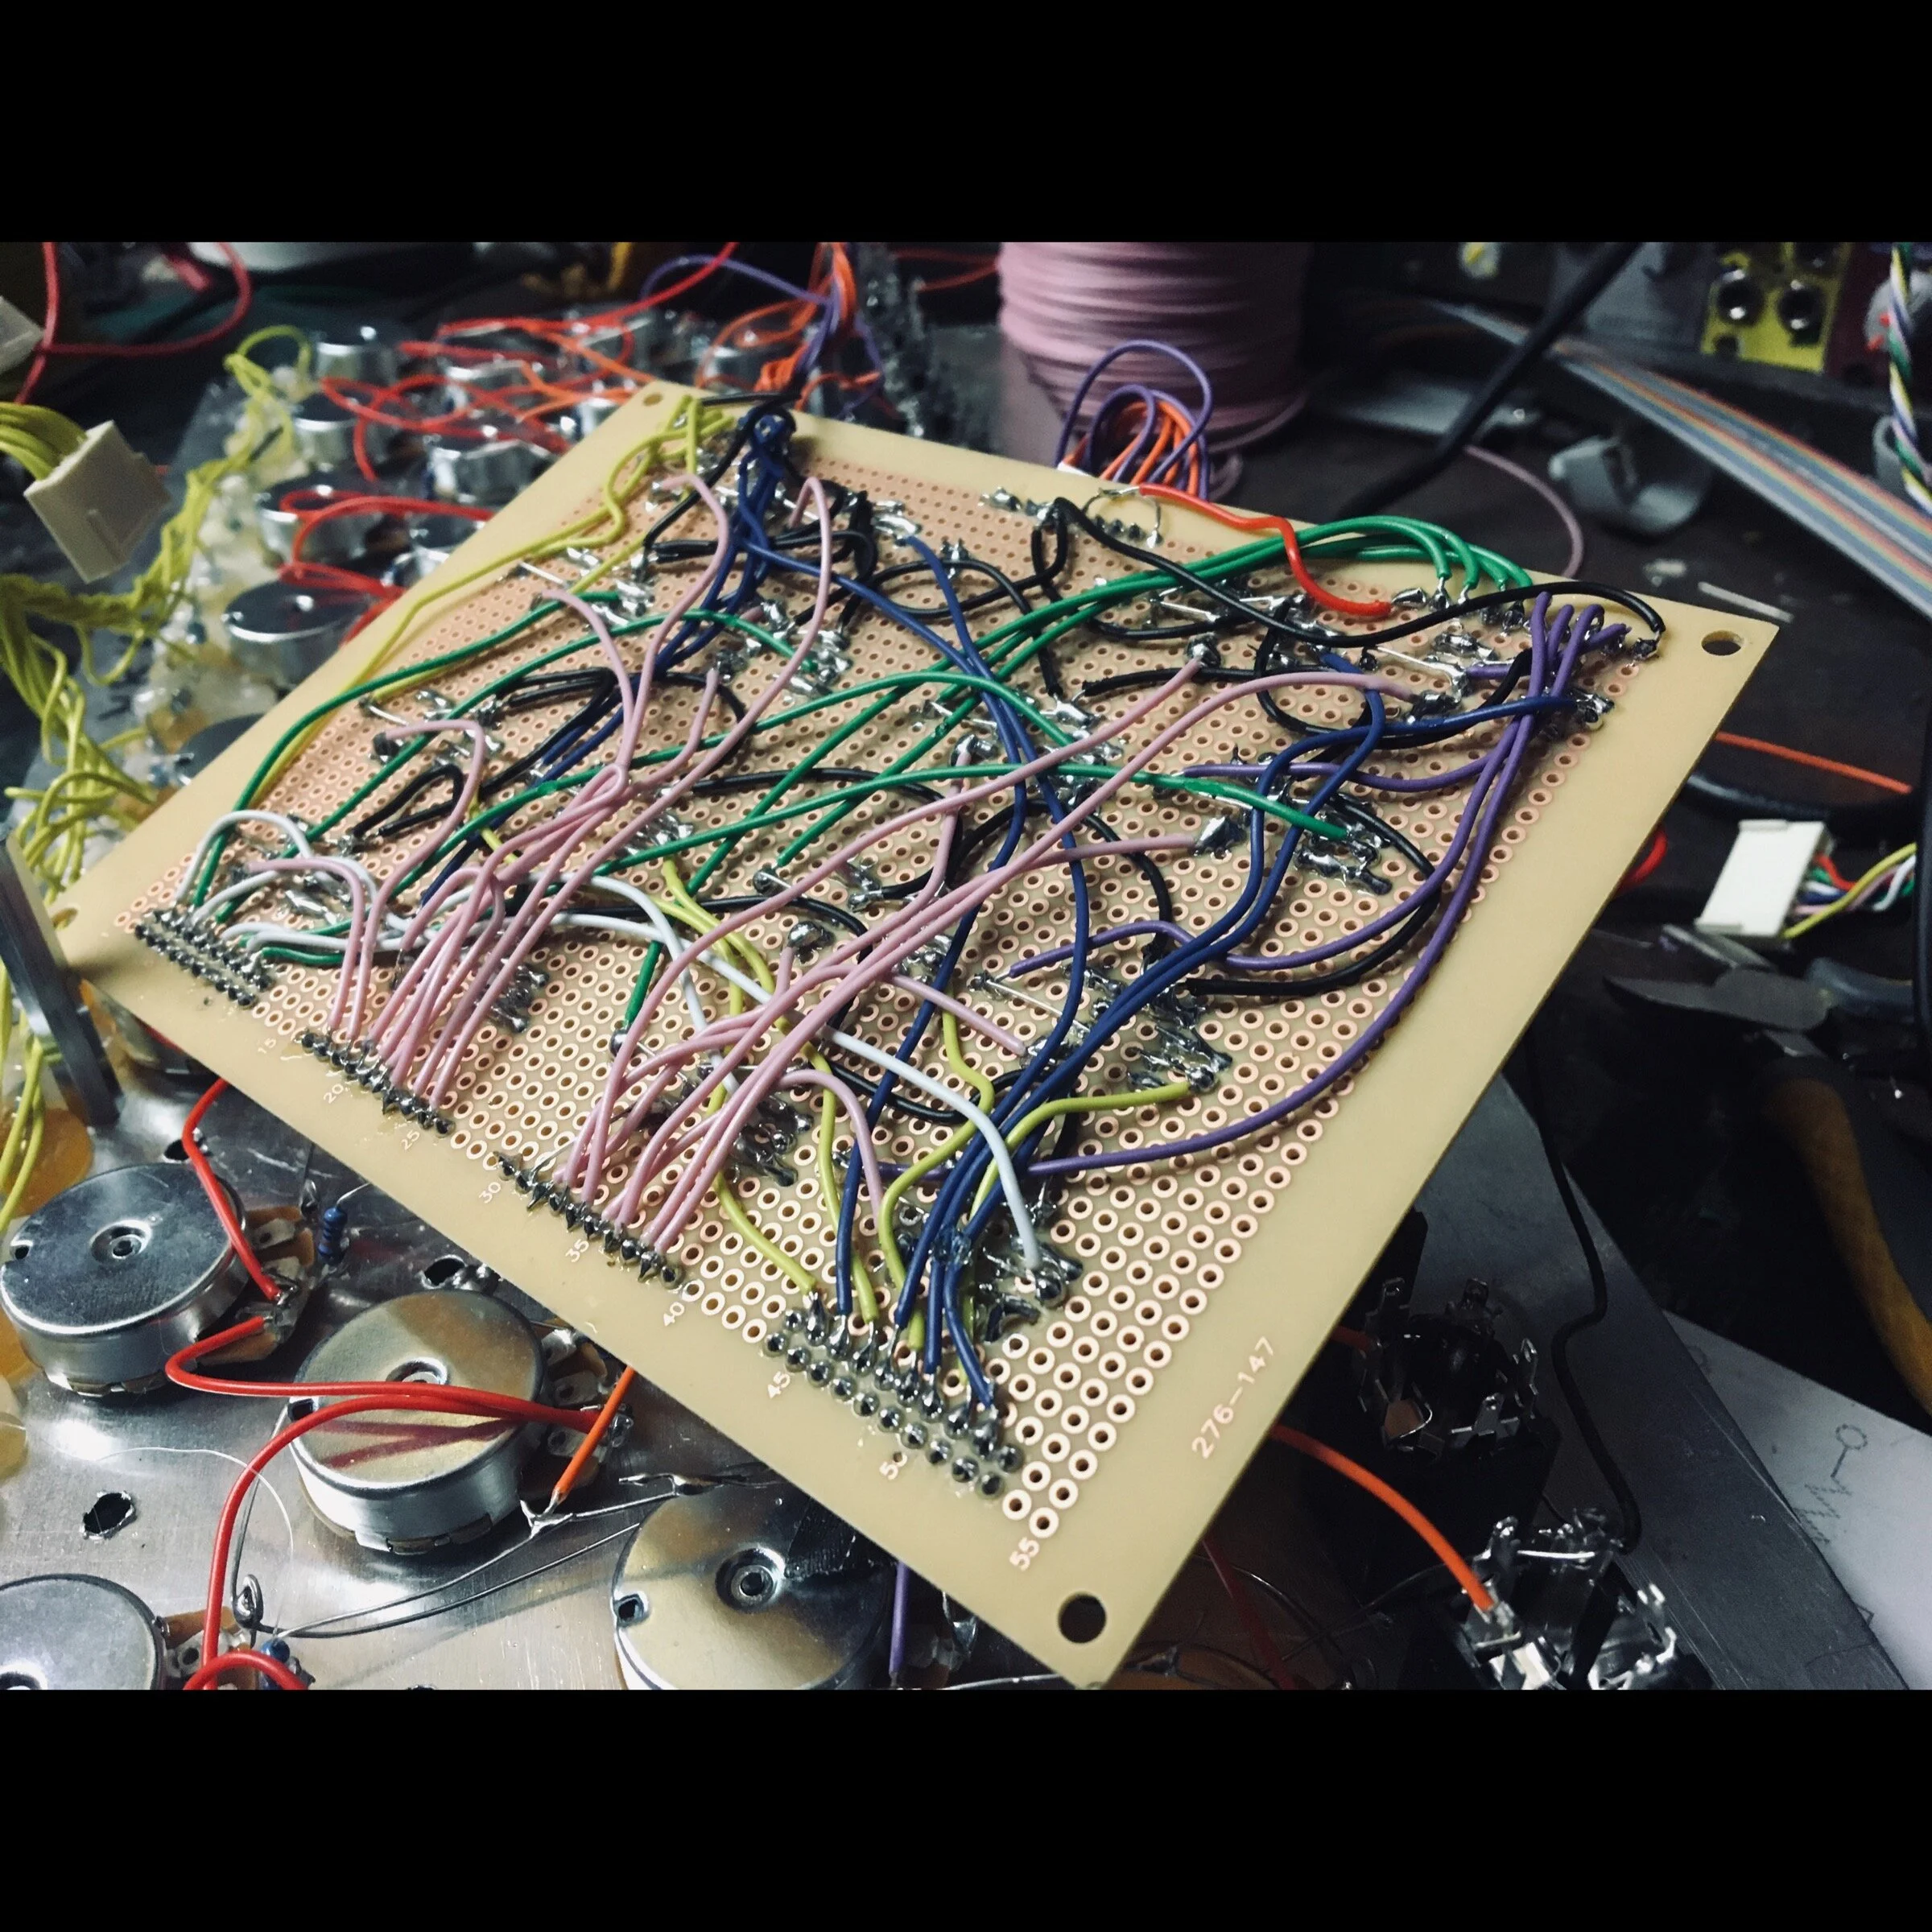
i made this controller in quite a rush becuase i was edging to see how well it worked!! which it worked perfectly. so yeah. its quite a mess around the back of the board!
PART 5
Return of Gameboy Megamachine.
PART 4
The control interface.
The control interface has 3 main sections:-
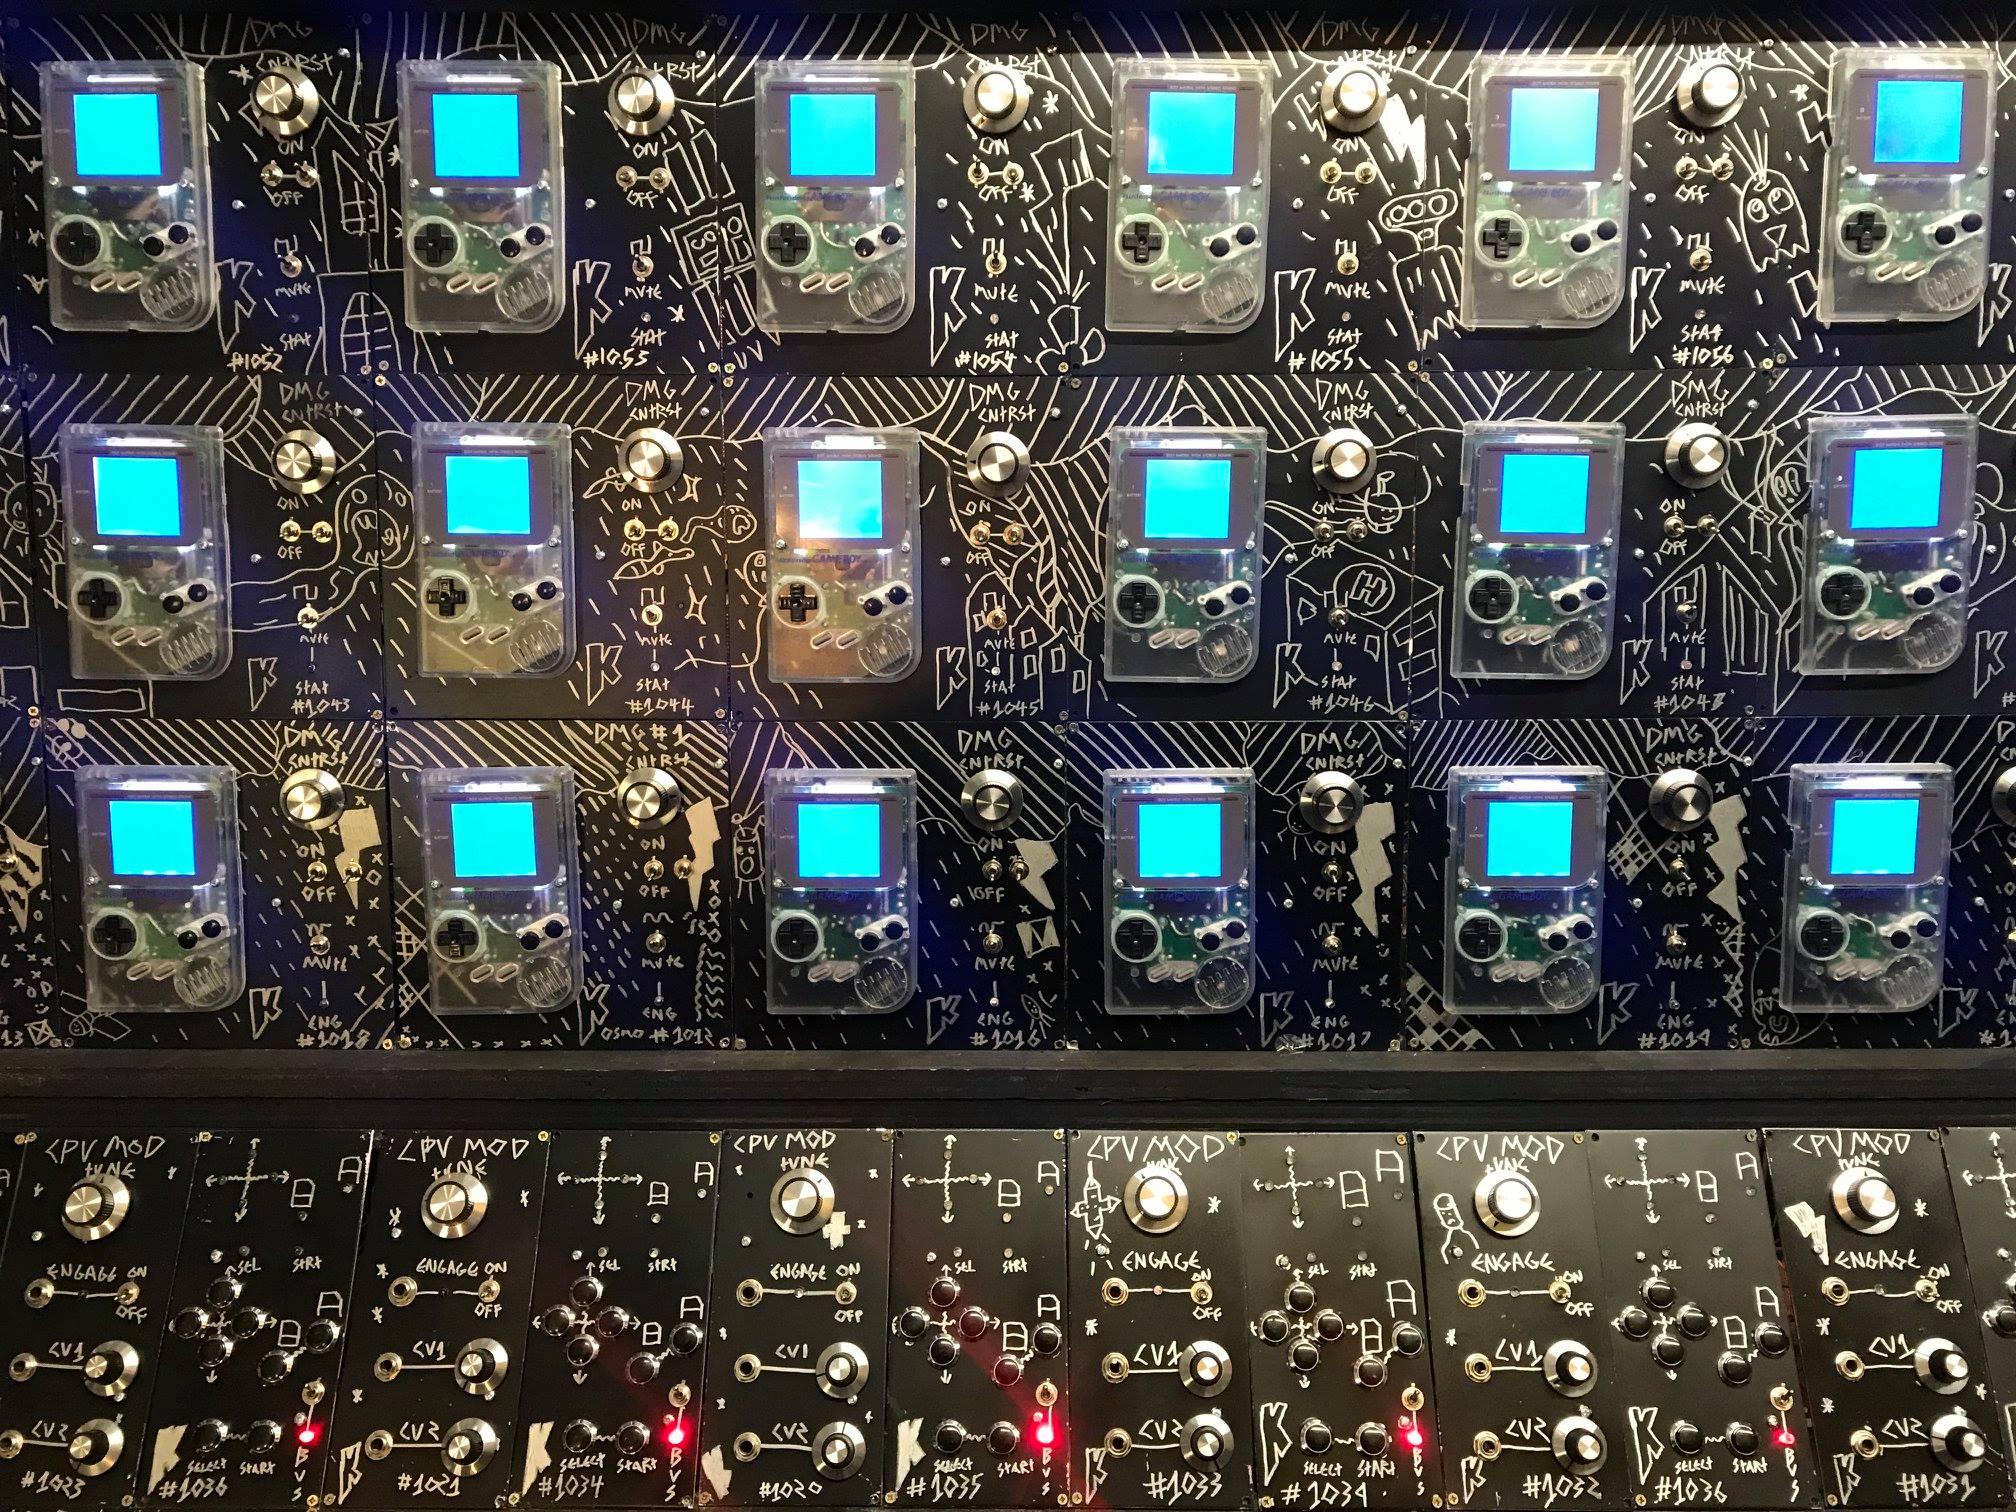
The circuit that interfaces directly with the gameboy. This is a circuit that basically mimics button presses on the gameboy, by being wired directly to the ribbon connector on the back pcb of the gameboy, which is the actual button matrix for the buttons, this means you can use the buttons on the gameboy, or use external voltage to trigger button presses
What is happening is there is a transistor per button, which opens the contact from 1 pin of the button matrix to the receiving pin of the button matrix. hopefully from these images below you will understand what is going on. it goes from pin 3 on the ribbon connector.
The bulk of the circuit is the button trigger circuit, also here is a Relay to turn on the cpu modulator signal to adjust the speed of the gameboys cpu. and also various other interconnects to connect gameboys to other things.
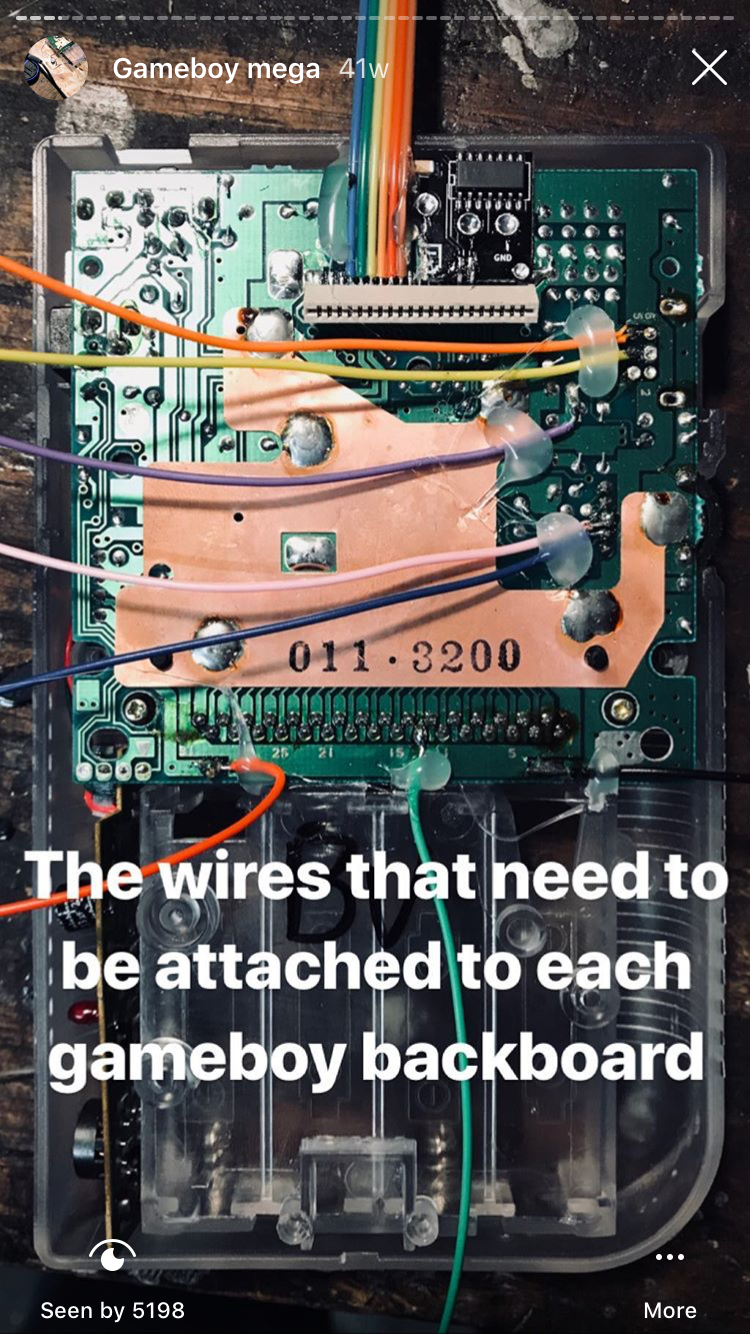
check out the rainbow ribbon cable on the top

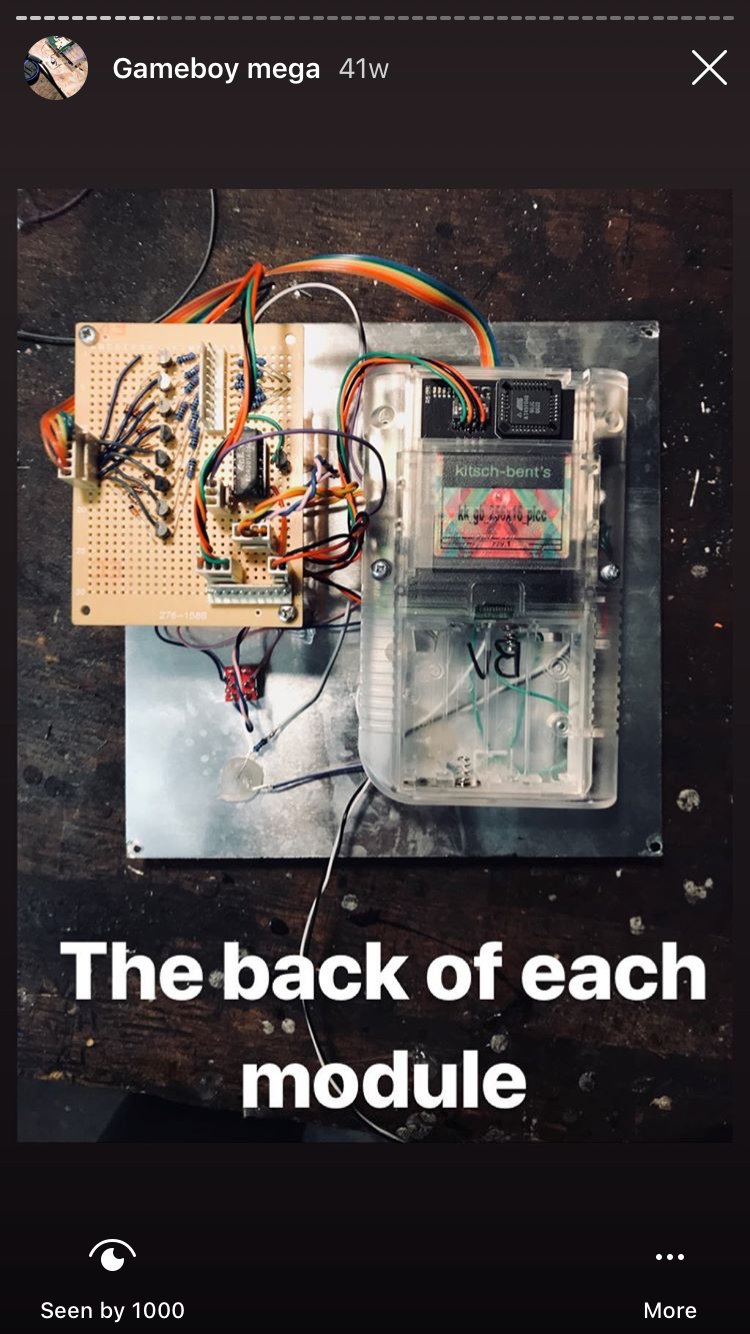
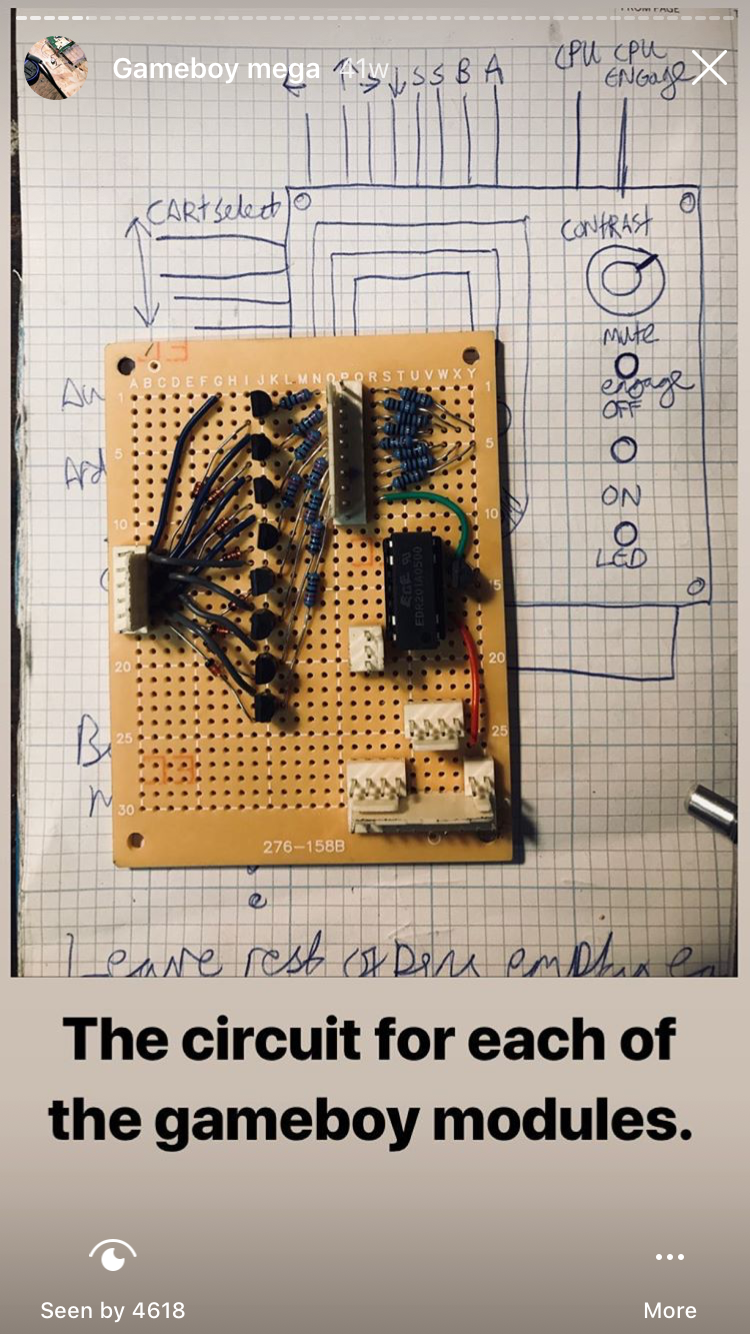
this is the protoboard layout, this was before i learnt pcb design, i remade them all as pcb’s because these werent reliable and very time consuming to make. below is download of the KICAD file, which you can use aslong as you credit look mum no computer in what not. i recon it wouldnt be hard to make a dedicated button mod board. but please let me know!!!
The other two sections to this! are basically just button controllers that send out 5v signals over to the circuit above to tell it to push a button on the gameboy. There are 8 slave controllers for controlling each column of gameboys. then there is a MASTER controller which is a big midi controller that tells all of the slaves to push buttons. so you can play all of the gameboys at once!!! it even has a midi input, i plan to make a single gameboy into a midi controller so i can use it to control all of the gameboys.
in the video below you will see me finally getting it all working!