
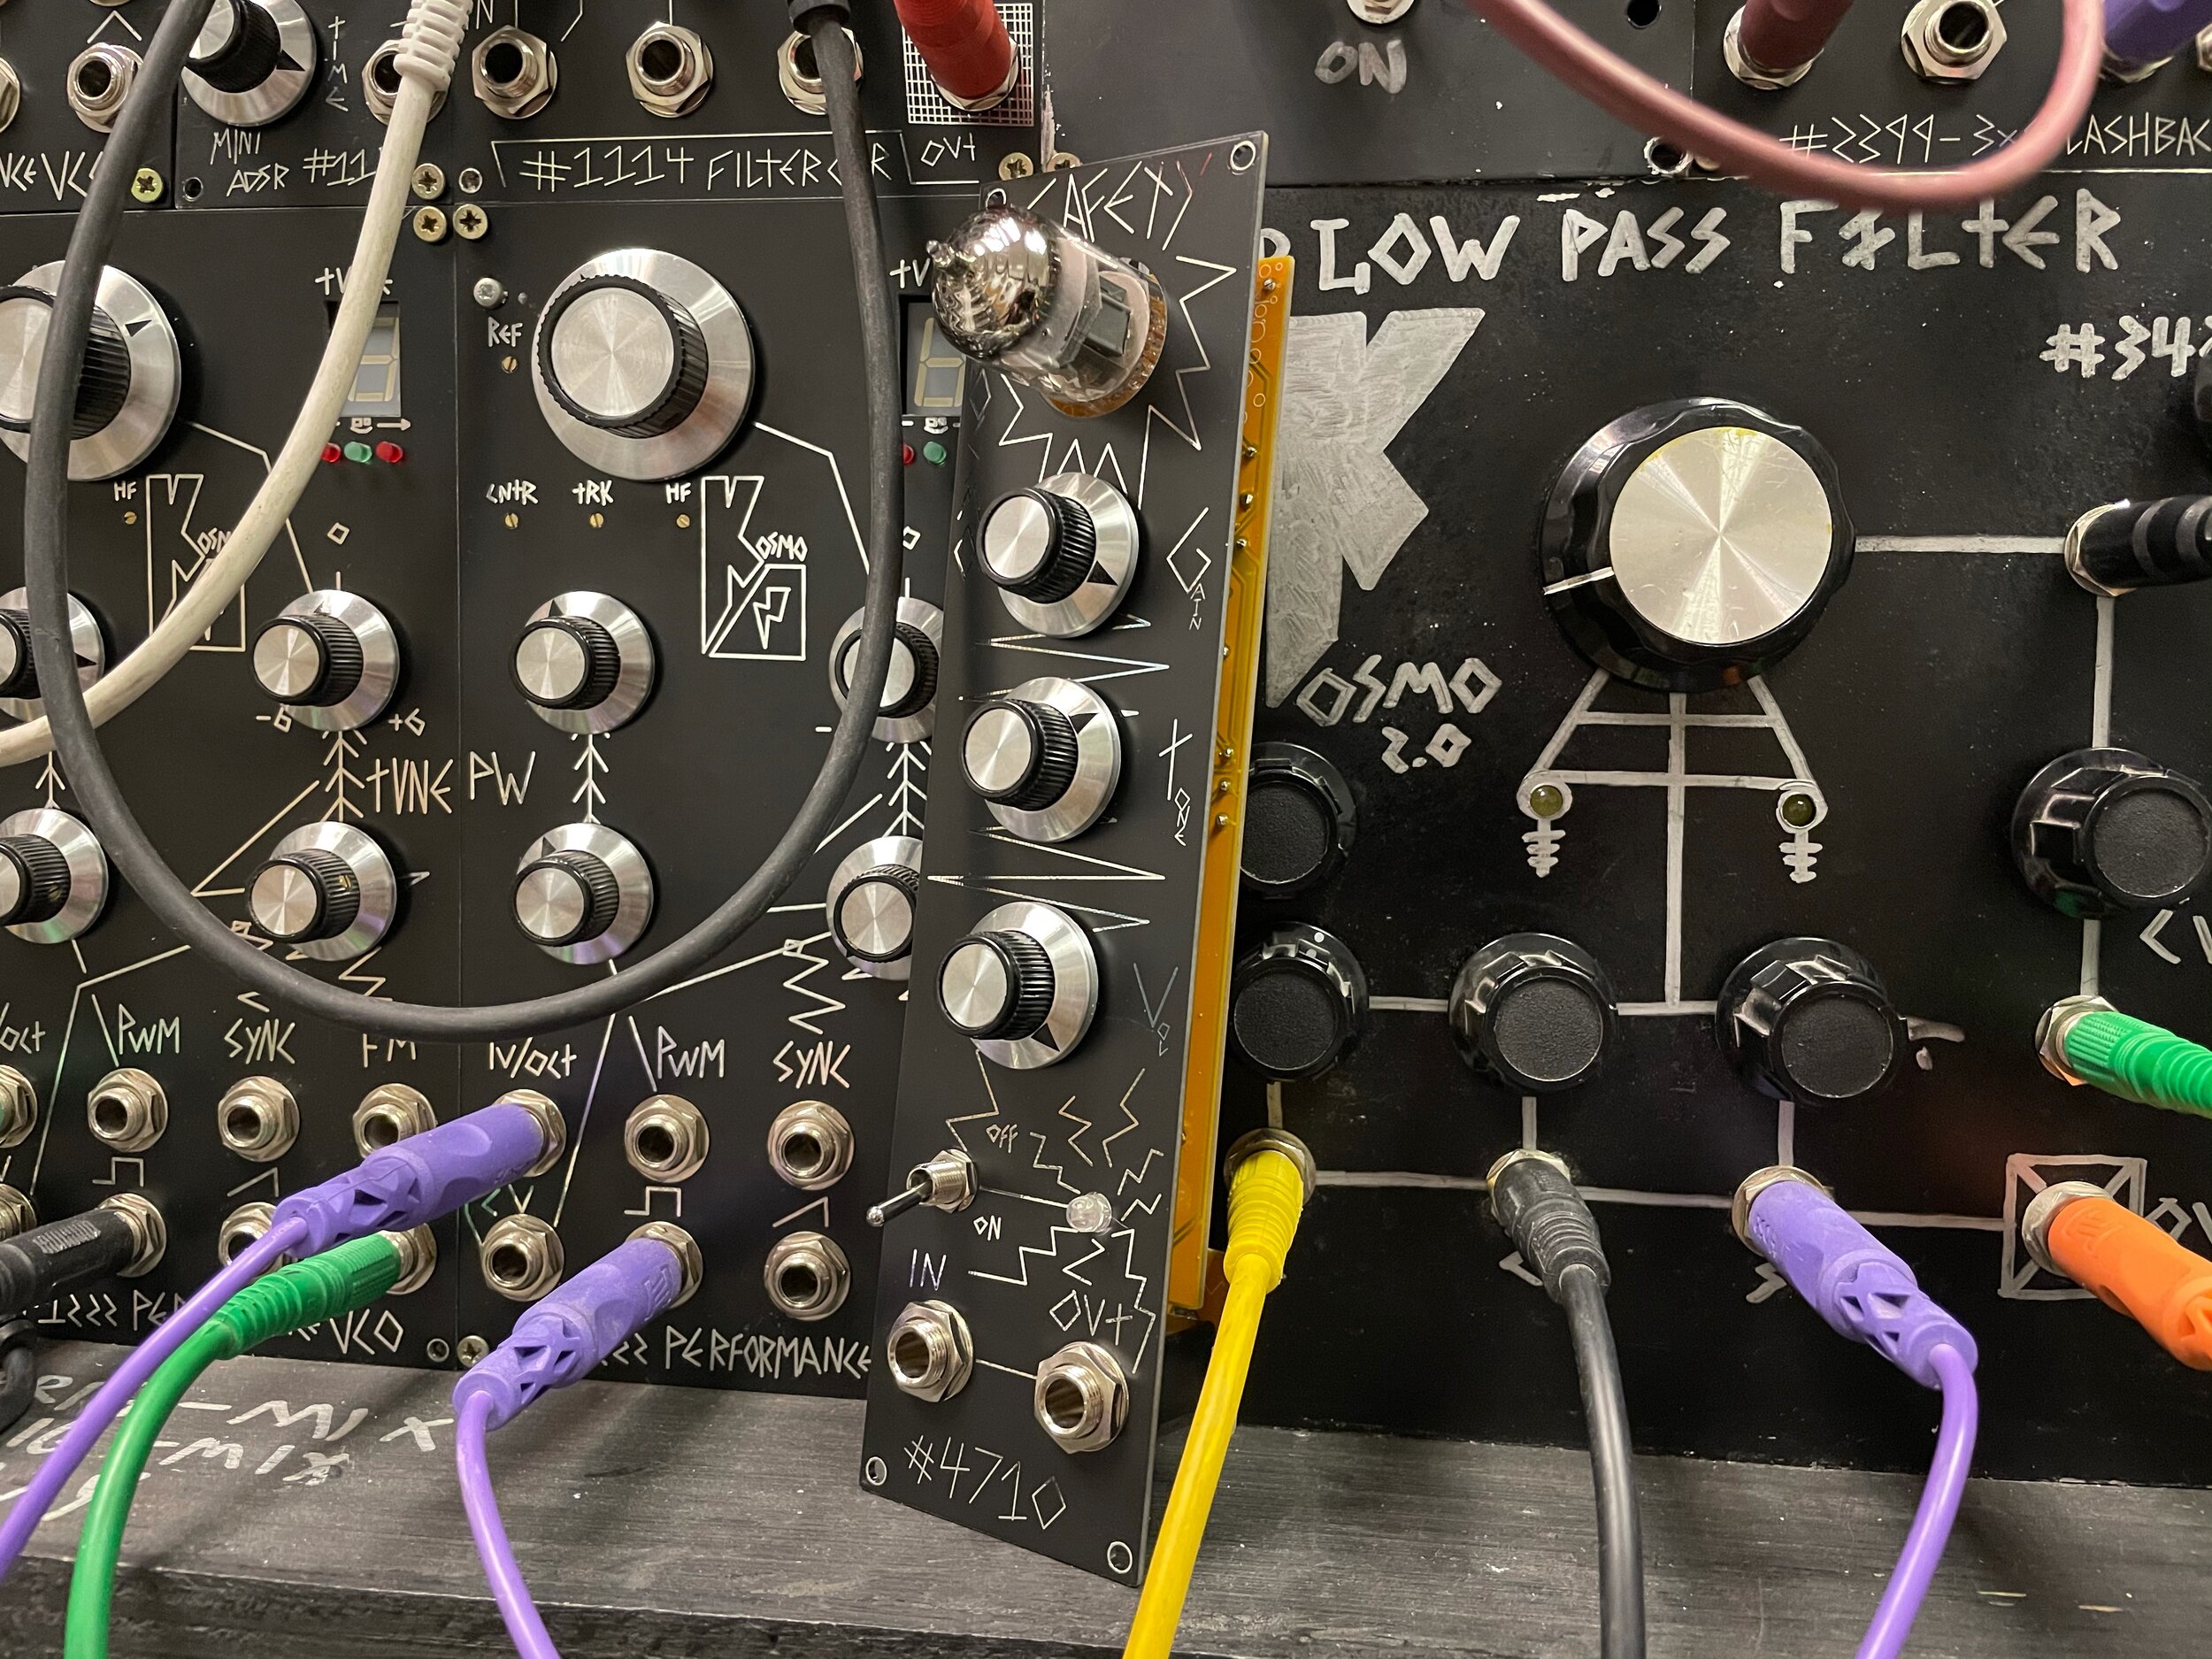
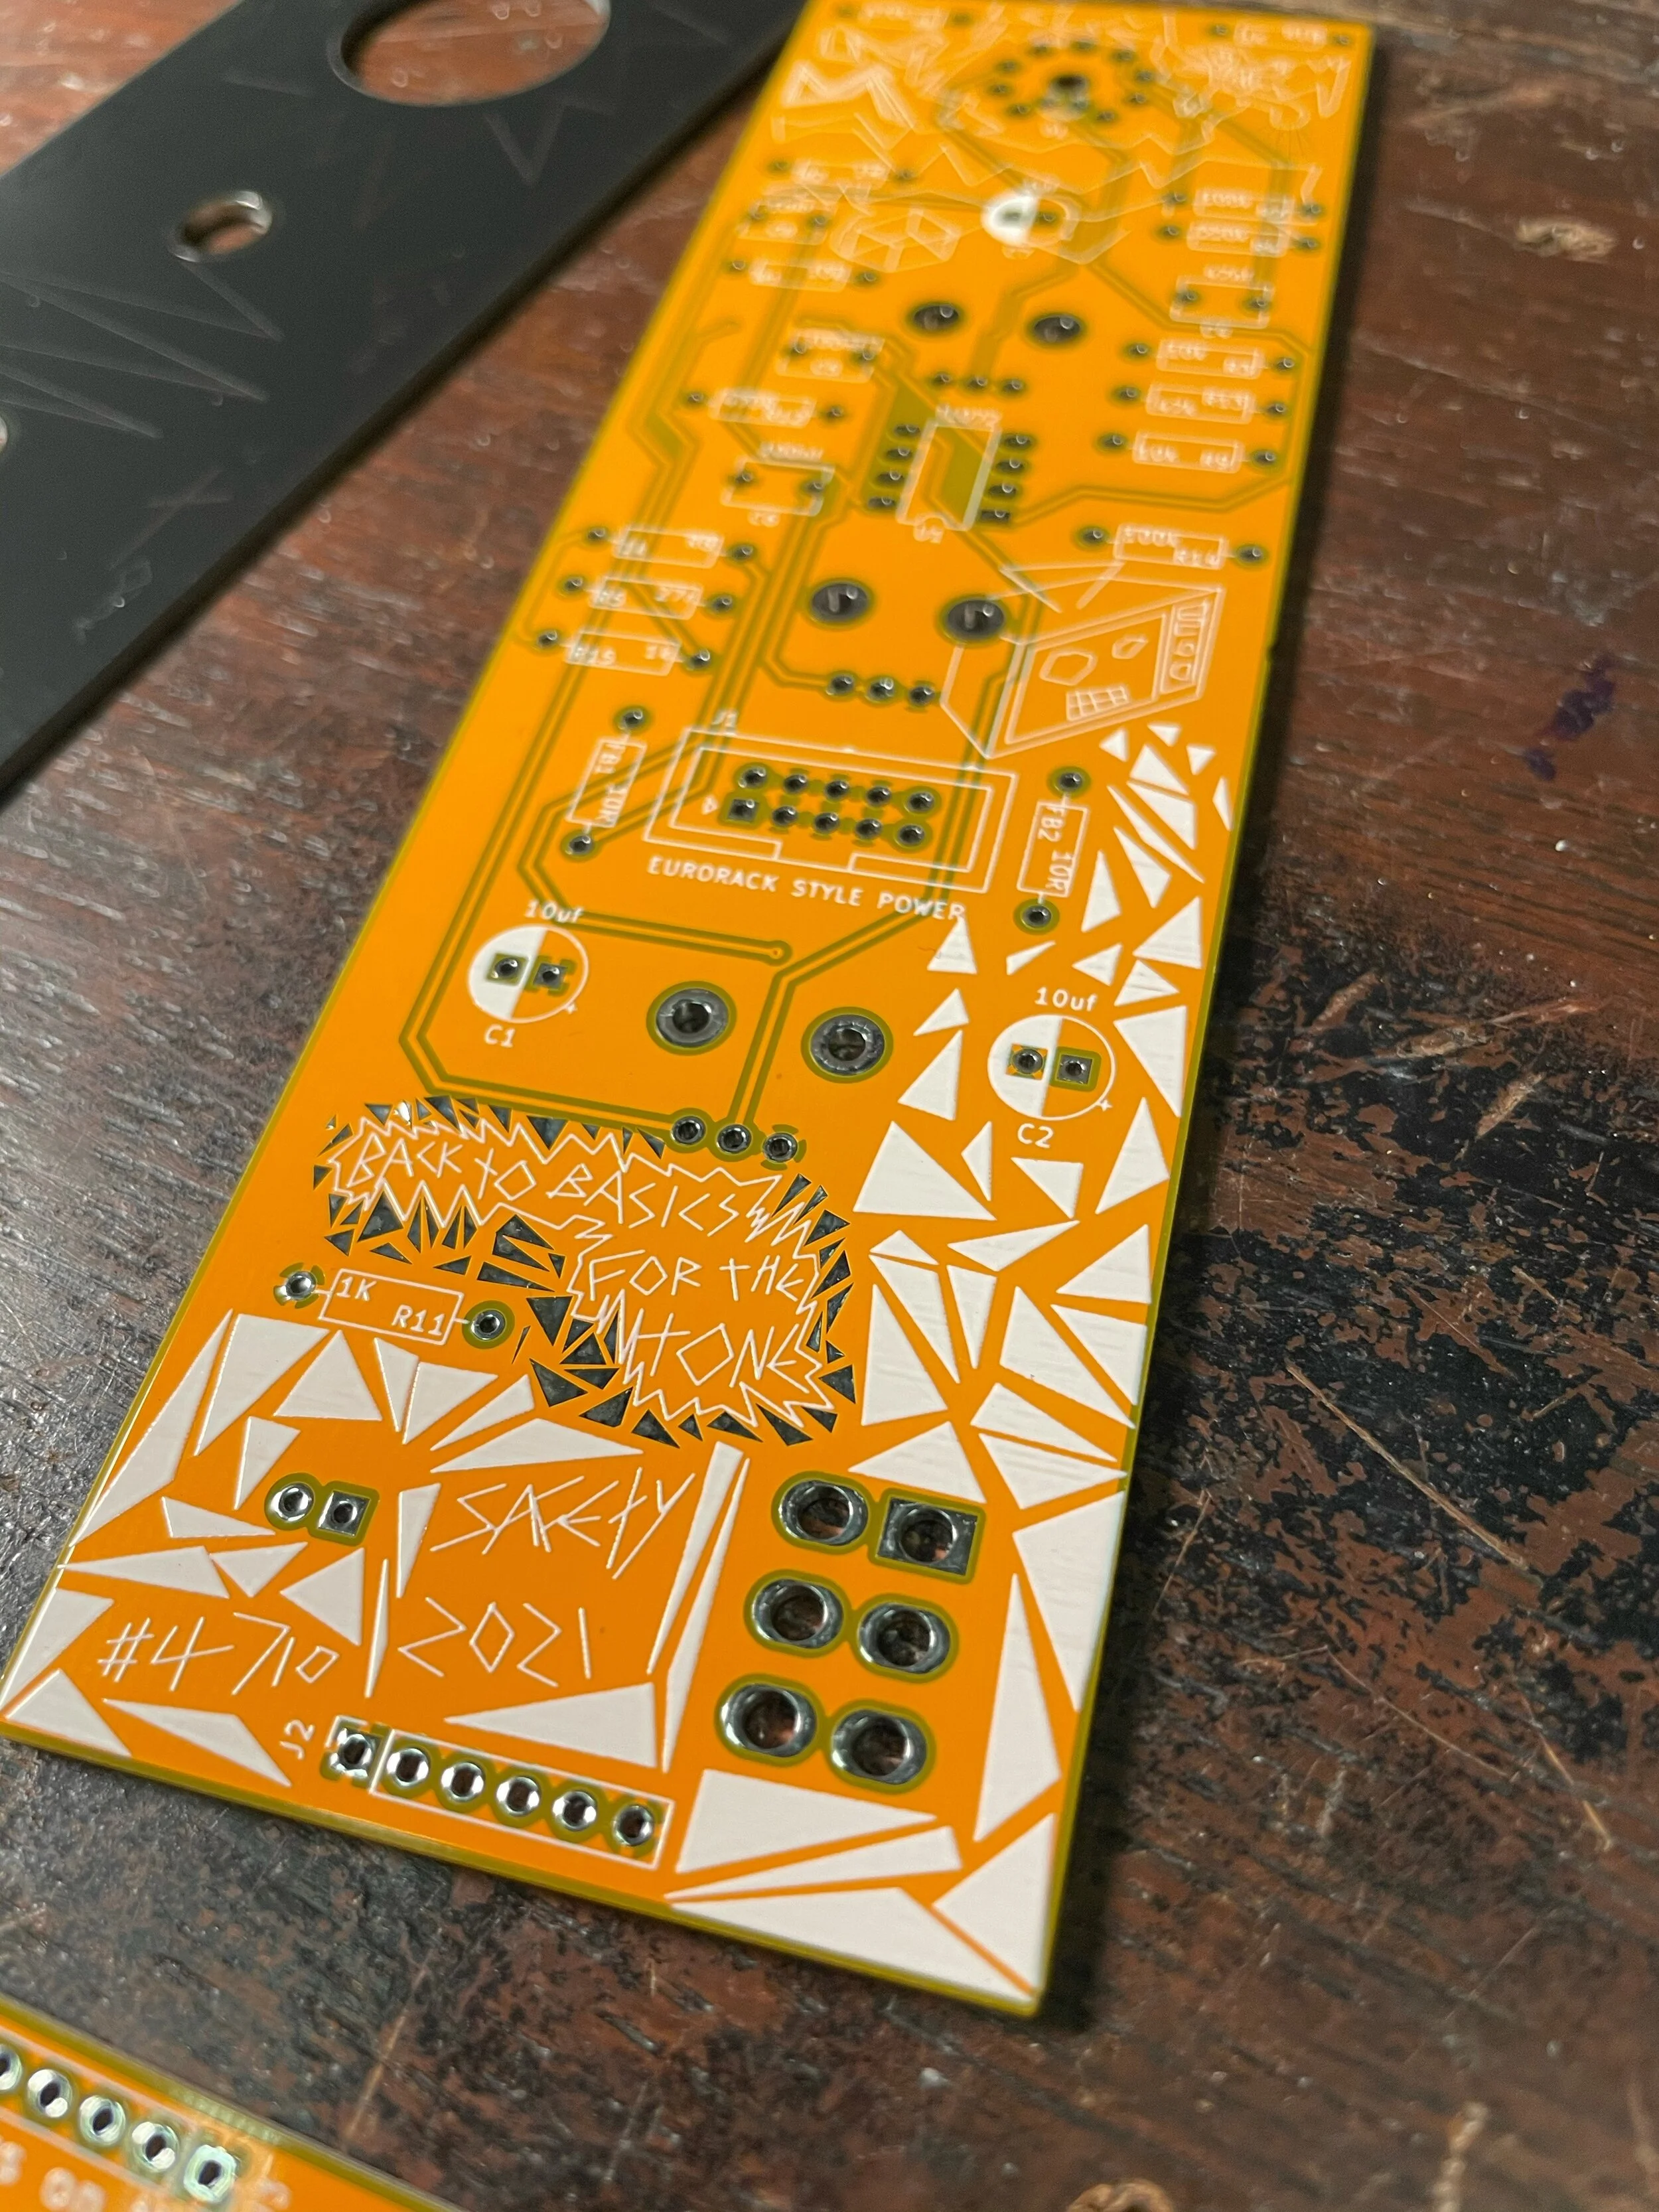
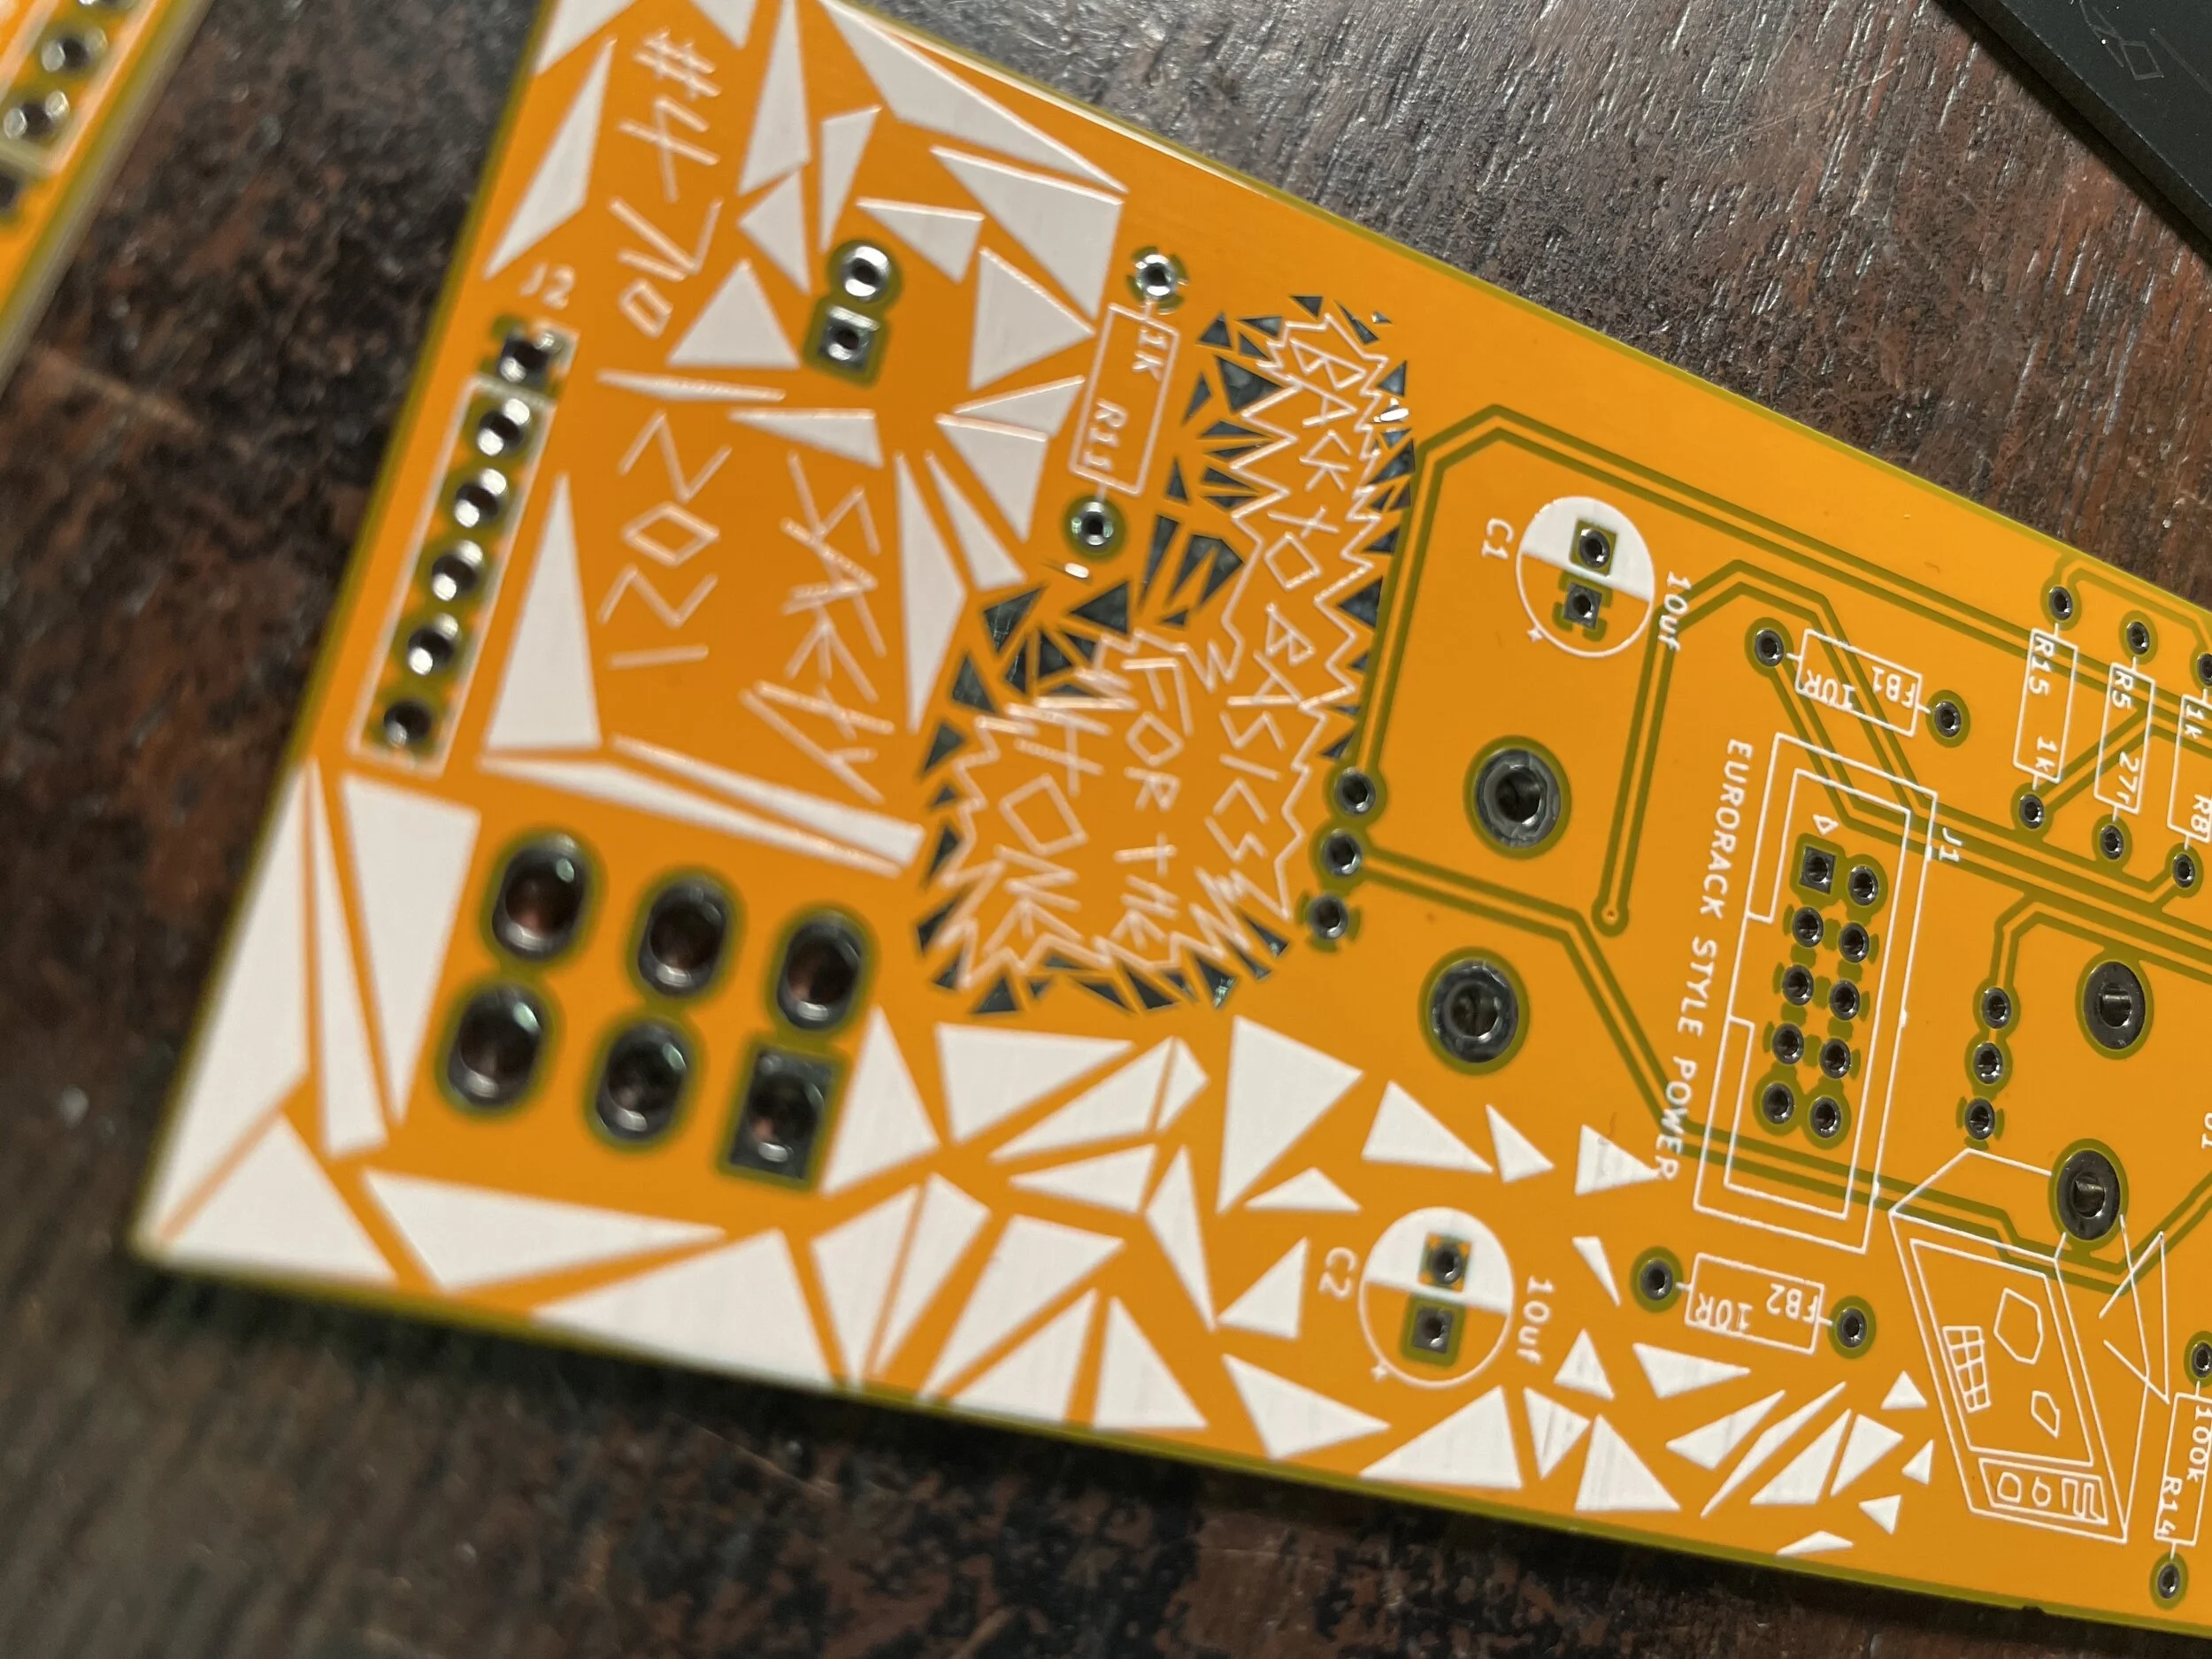
#4710 SAFETY VALVE
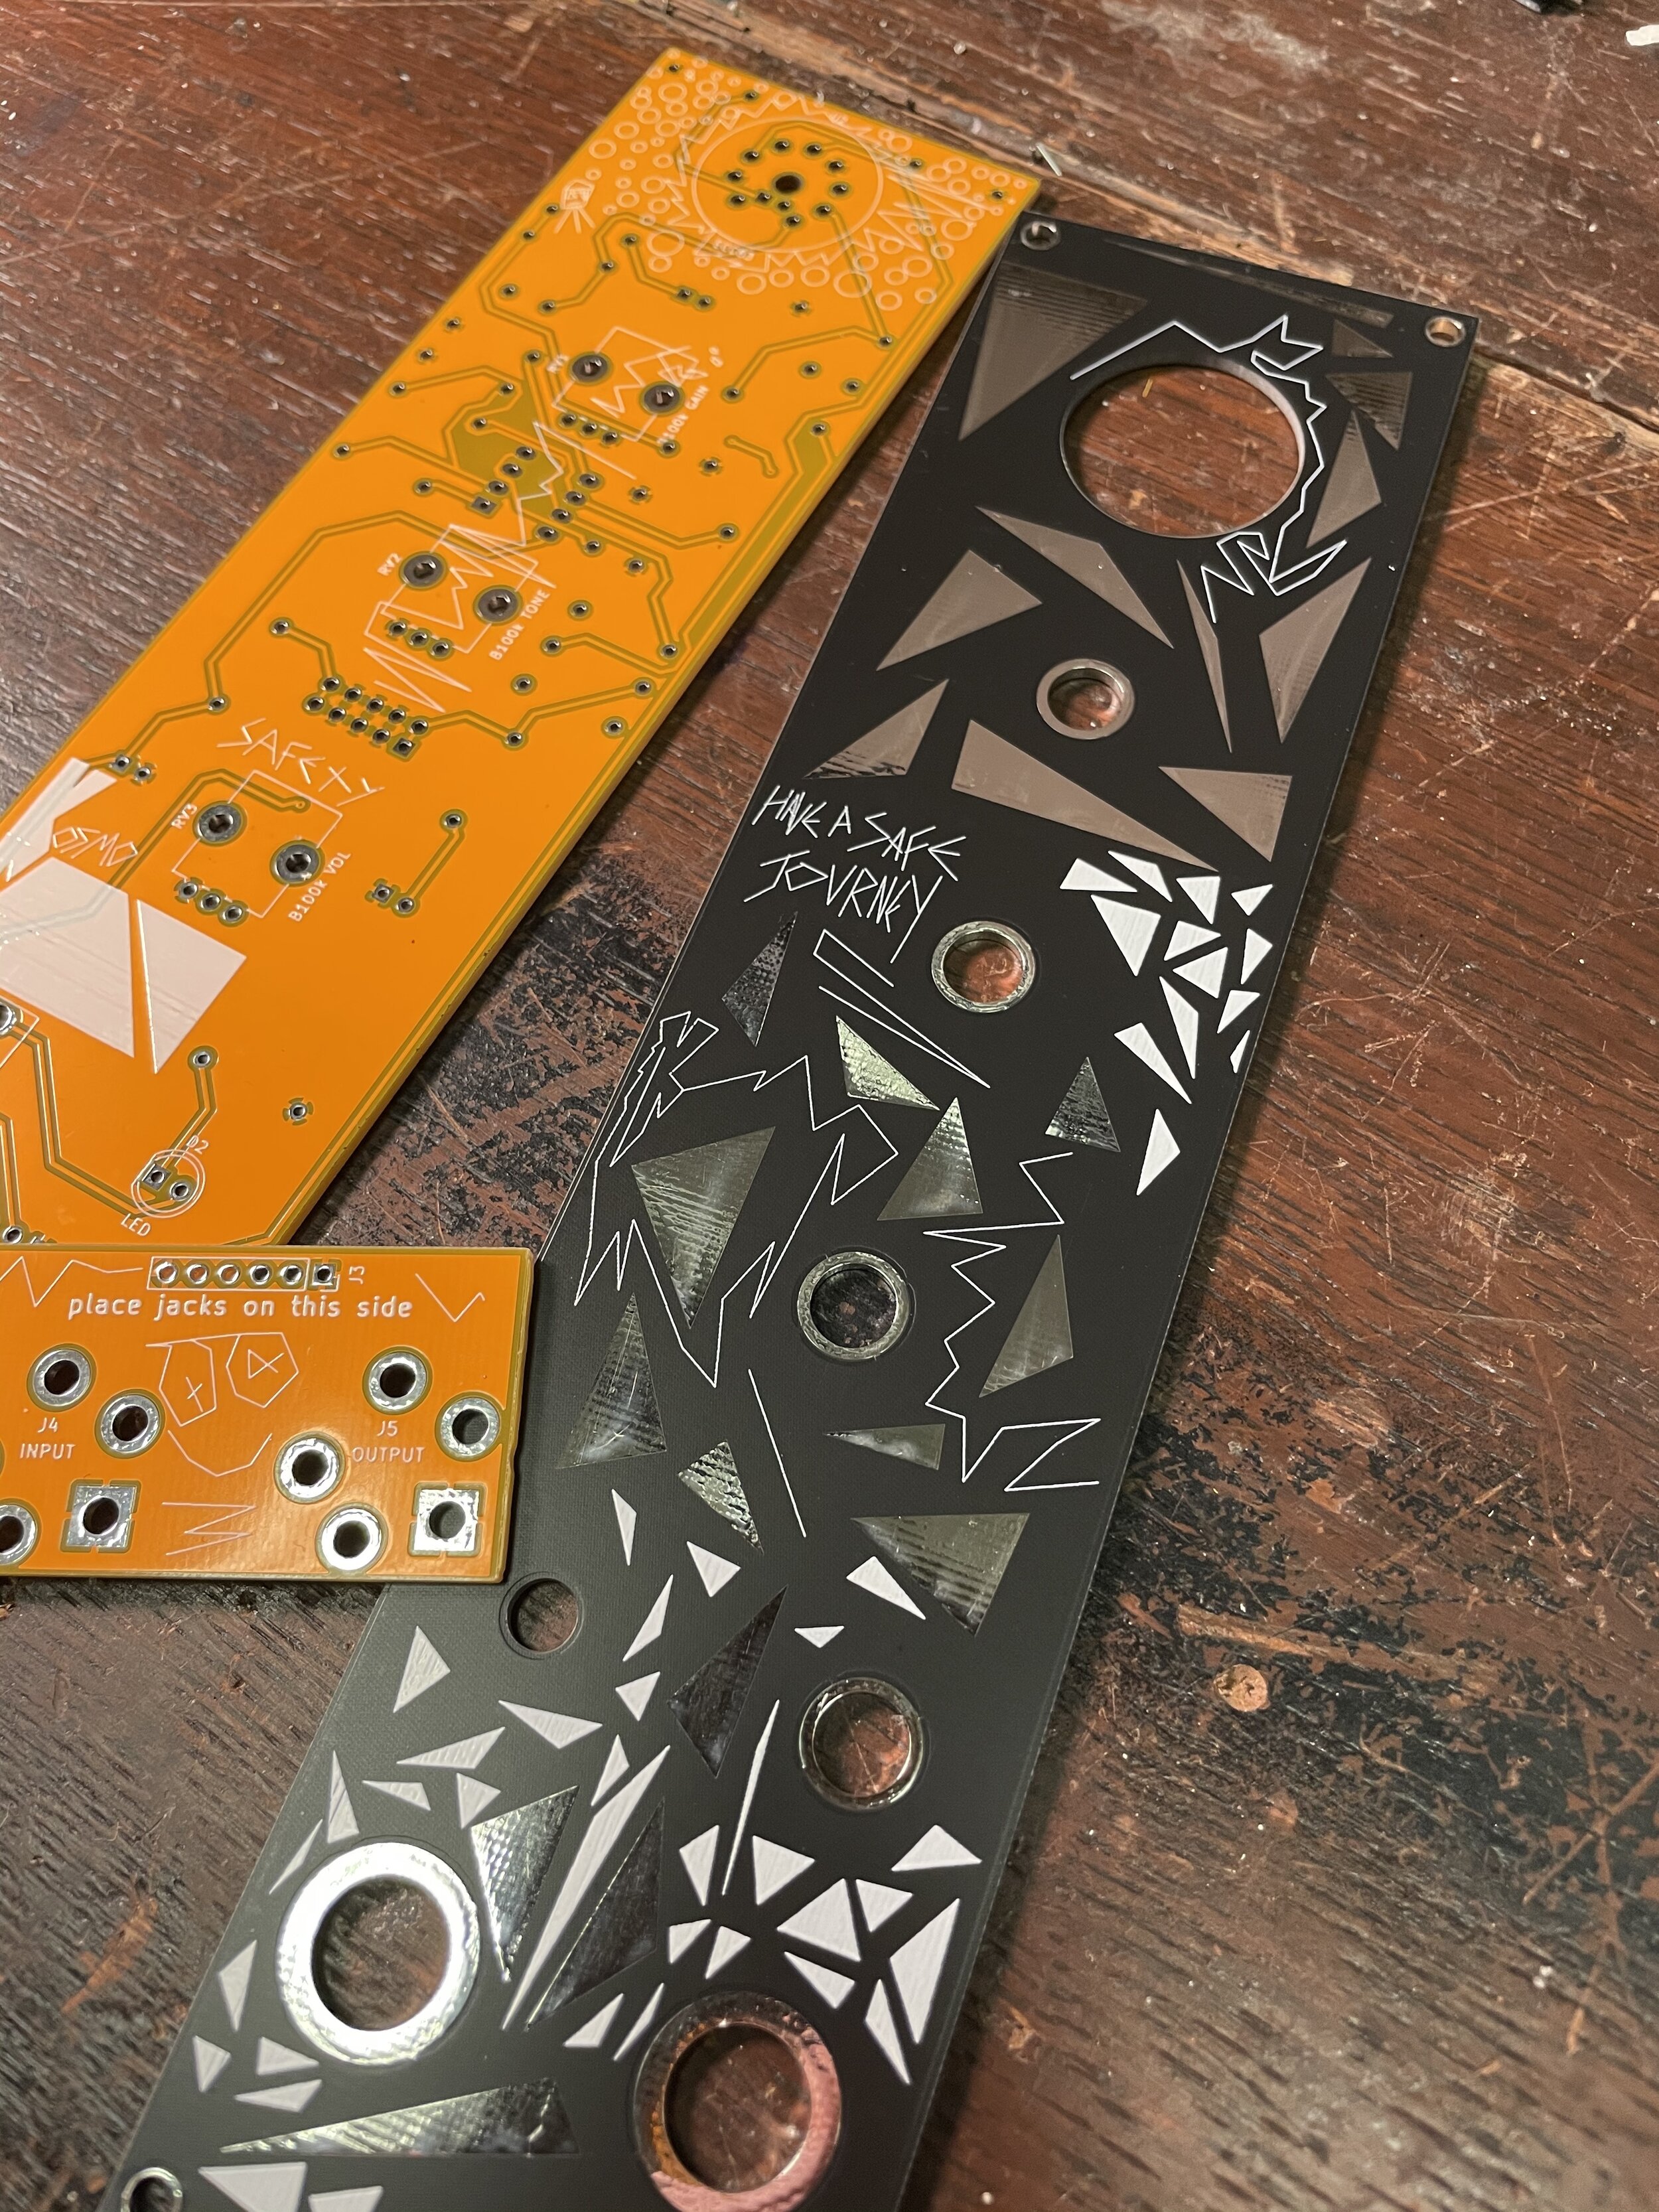
PCB/PANEL SET Available here
There are a number of variants of the safety valve but this matches the 1.0 version Which i think sounds the best, Having tried various versions including the 2.0 and also the GMSN version which has an input buffer and a slightly different circuit, they just didn’t tick the main box which was, TONEEEE MOTHERFUDGING TONEEE. So i thought screw it, and took it back to the Safety Valve 4710.
It does not have any CV control this is for the above reason and also namely, with valve distortion the sound adjustments are more to do with the level of things going into it, so i didn’t see it as being particularly important to complicate the circuit further just to add CV control over things that don’t do as good of a job as adjusting things earlier in the signal chain. The best approach is to treat it like a pedal, it has a switch to turn it on, it accentuates aspects of the sound in a warm waffly kind of manner, and can boost the signal a heck of alot!
Also the Tone control is just a simple RC filter (a resistor and a capacitor) so that didn’t make sense to make CV controllable either as having a filter after the safety valve would do the same thing controllably but better.
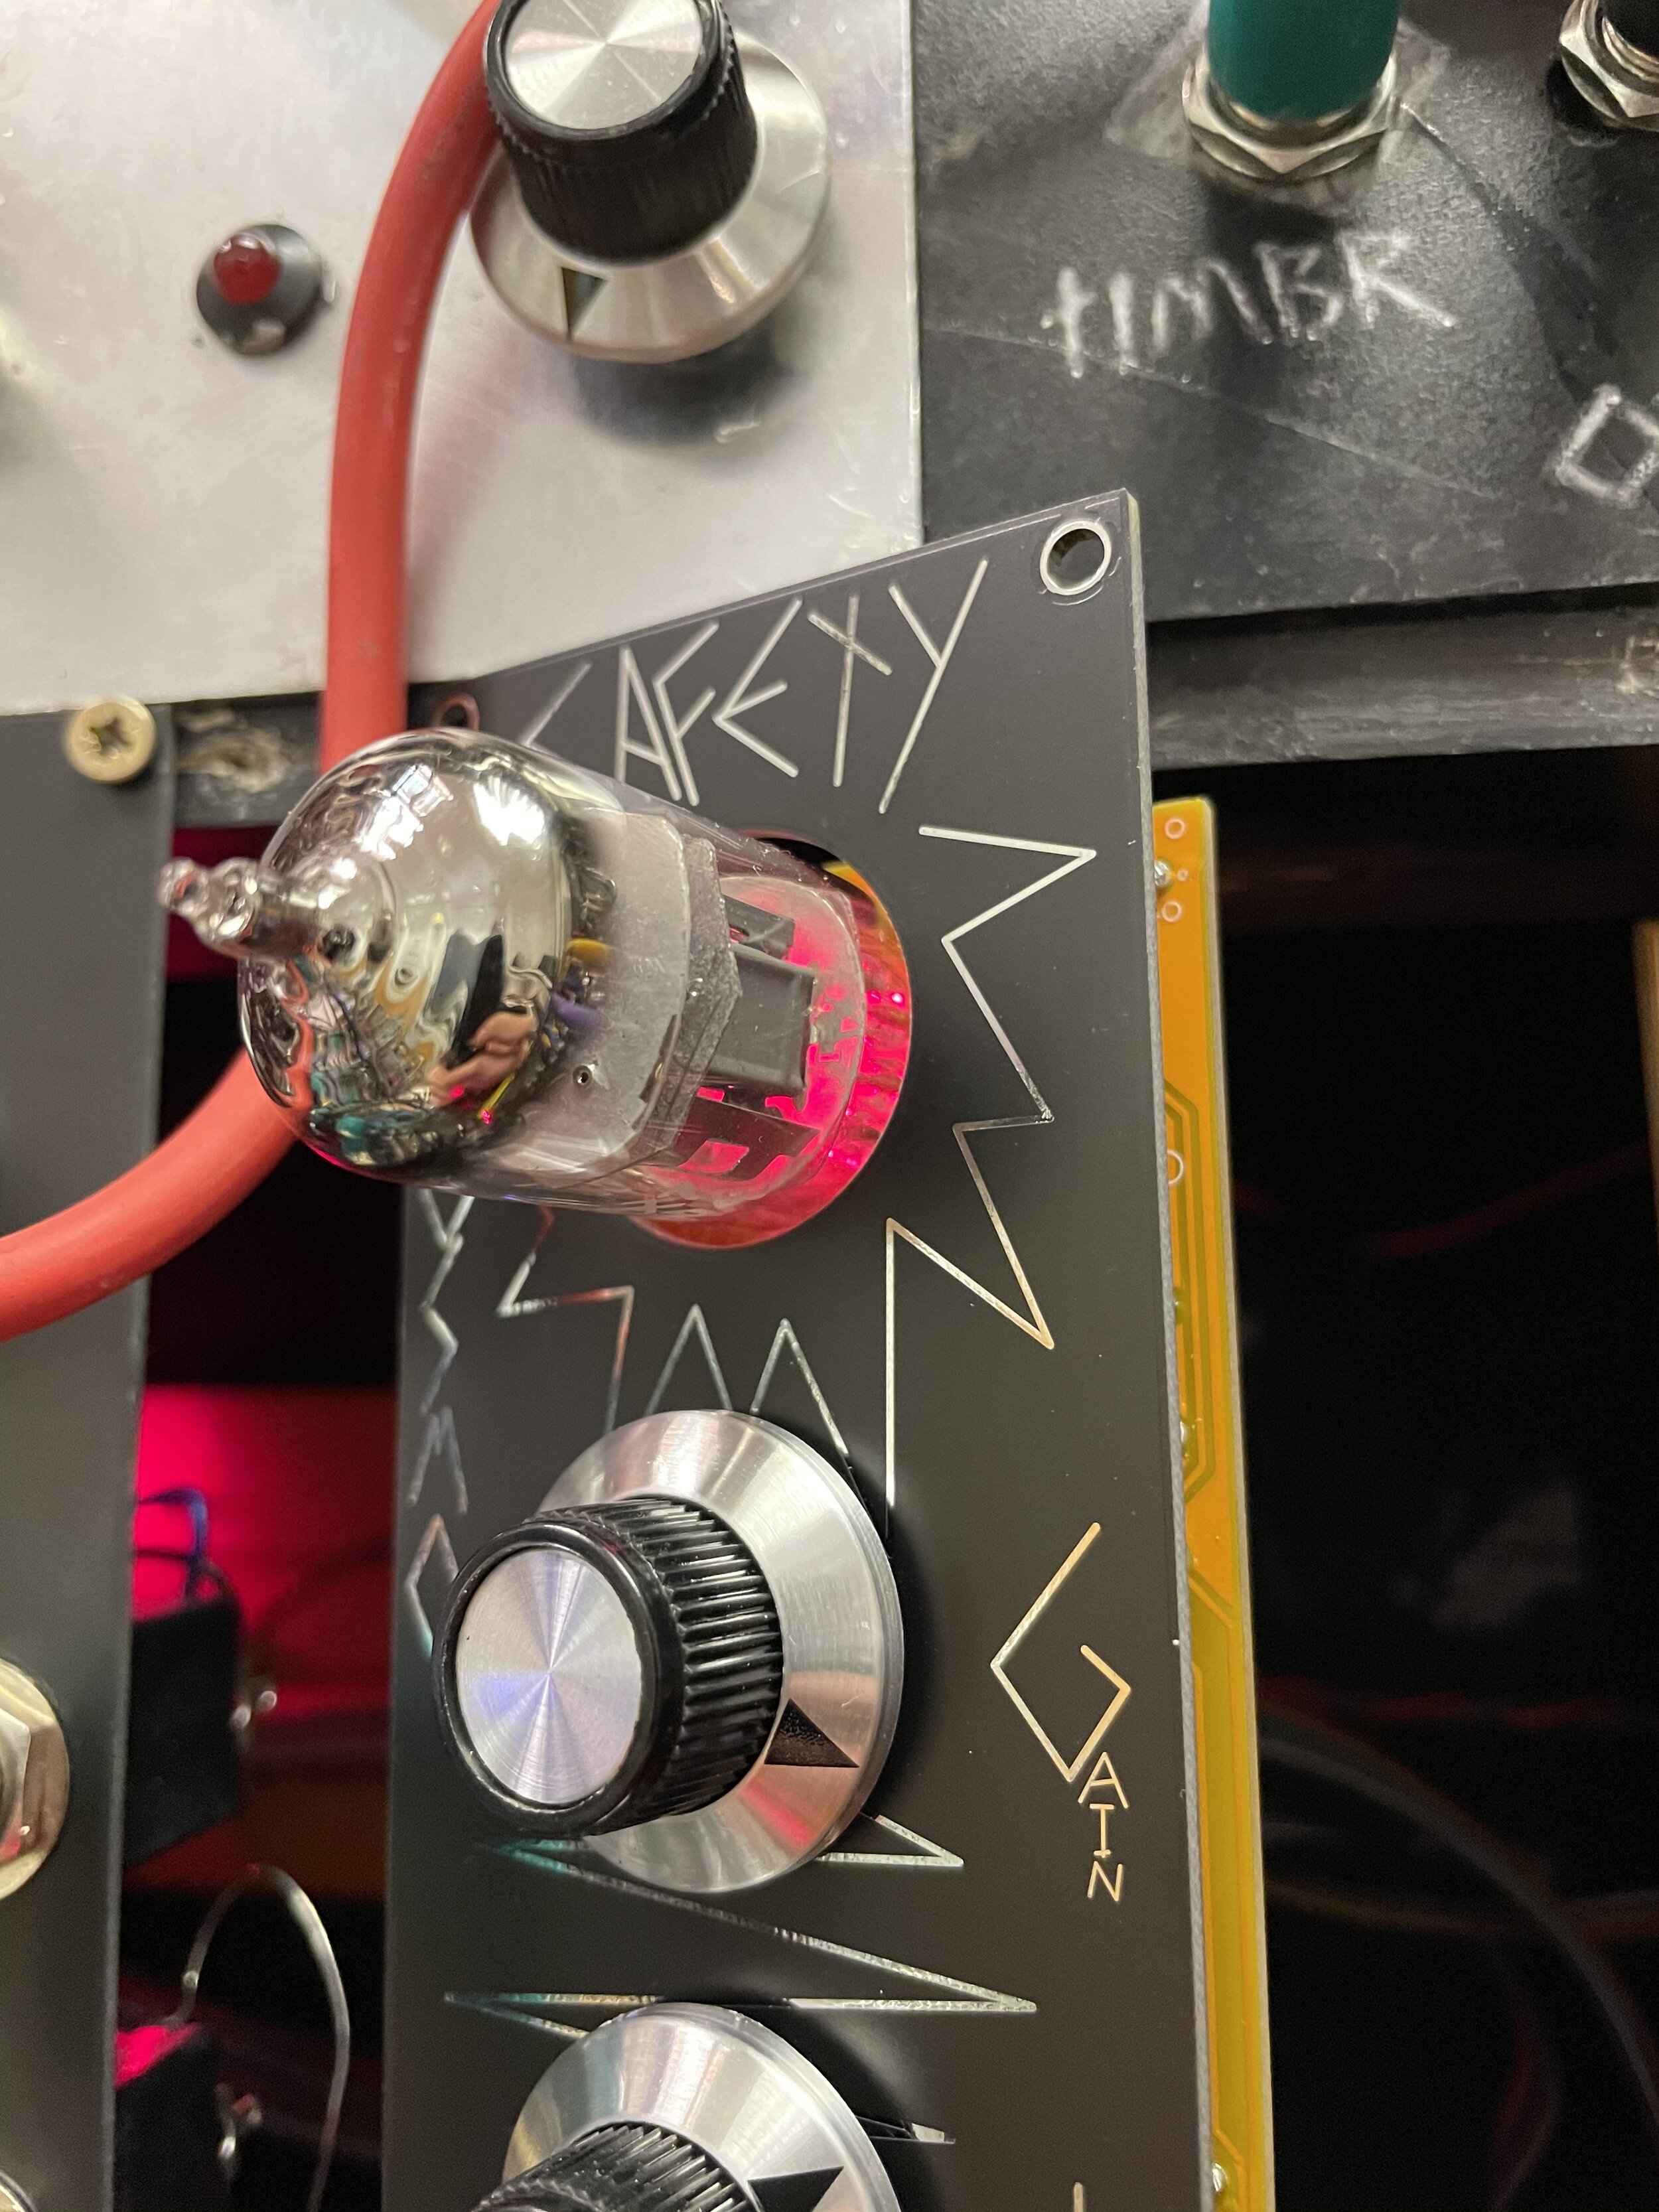
There are a couple of differences between this design and the 4710 in the inital video, that being, there is an LED behind the valve this acts as a signal monitor, it listens to whatever goes on in the safety valve and lights up accordingly, Even when bypassed. There is also an engage LED next to the switch.
When there is nothing plugged into the input it goes into feedback mode this is purposeful, it means you can use the module as a drone. You can remove this mode with a simple cutting of a trace on the jack socket PCB board if its annoying but I dont see why you would feel the need. :D
One more thing to note! This kind of distortion like a lot of distortions dont do much to simple sound sources like a single square wave for instance. if you put a single unmixed square wave in, thats what you get out.


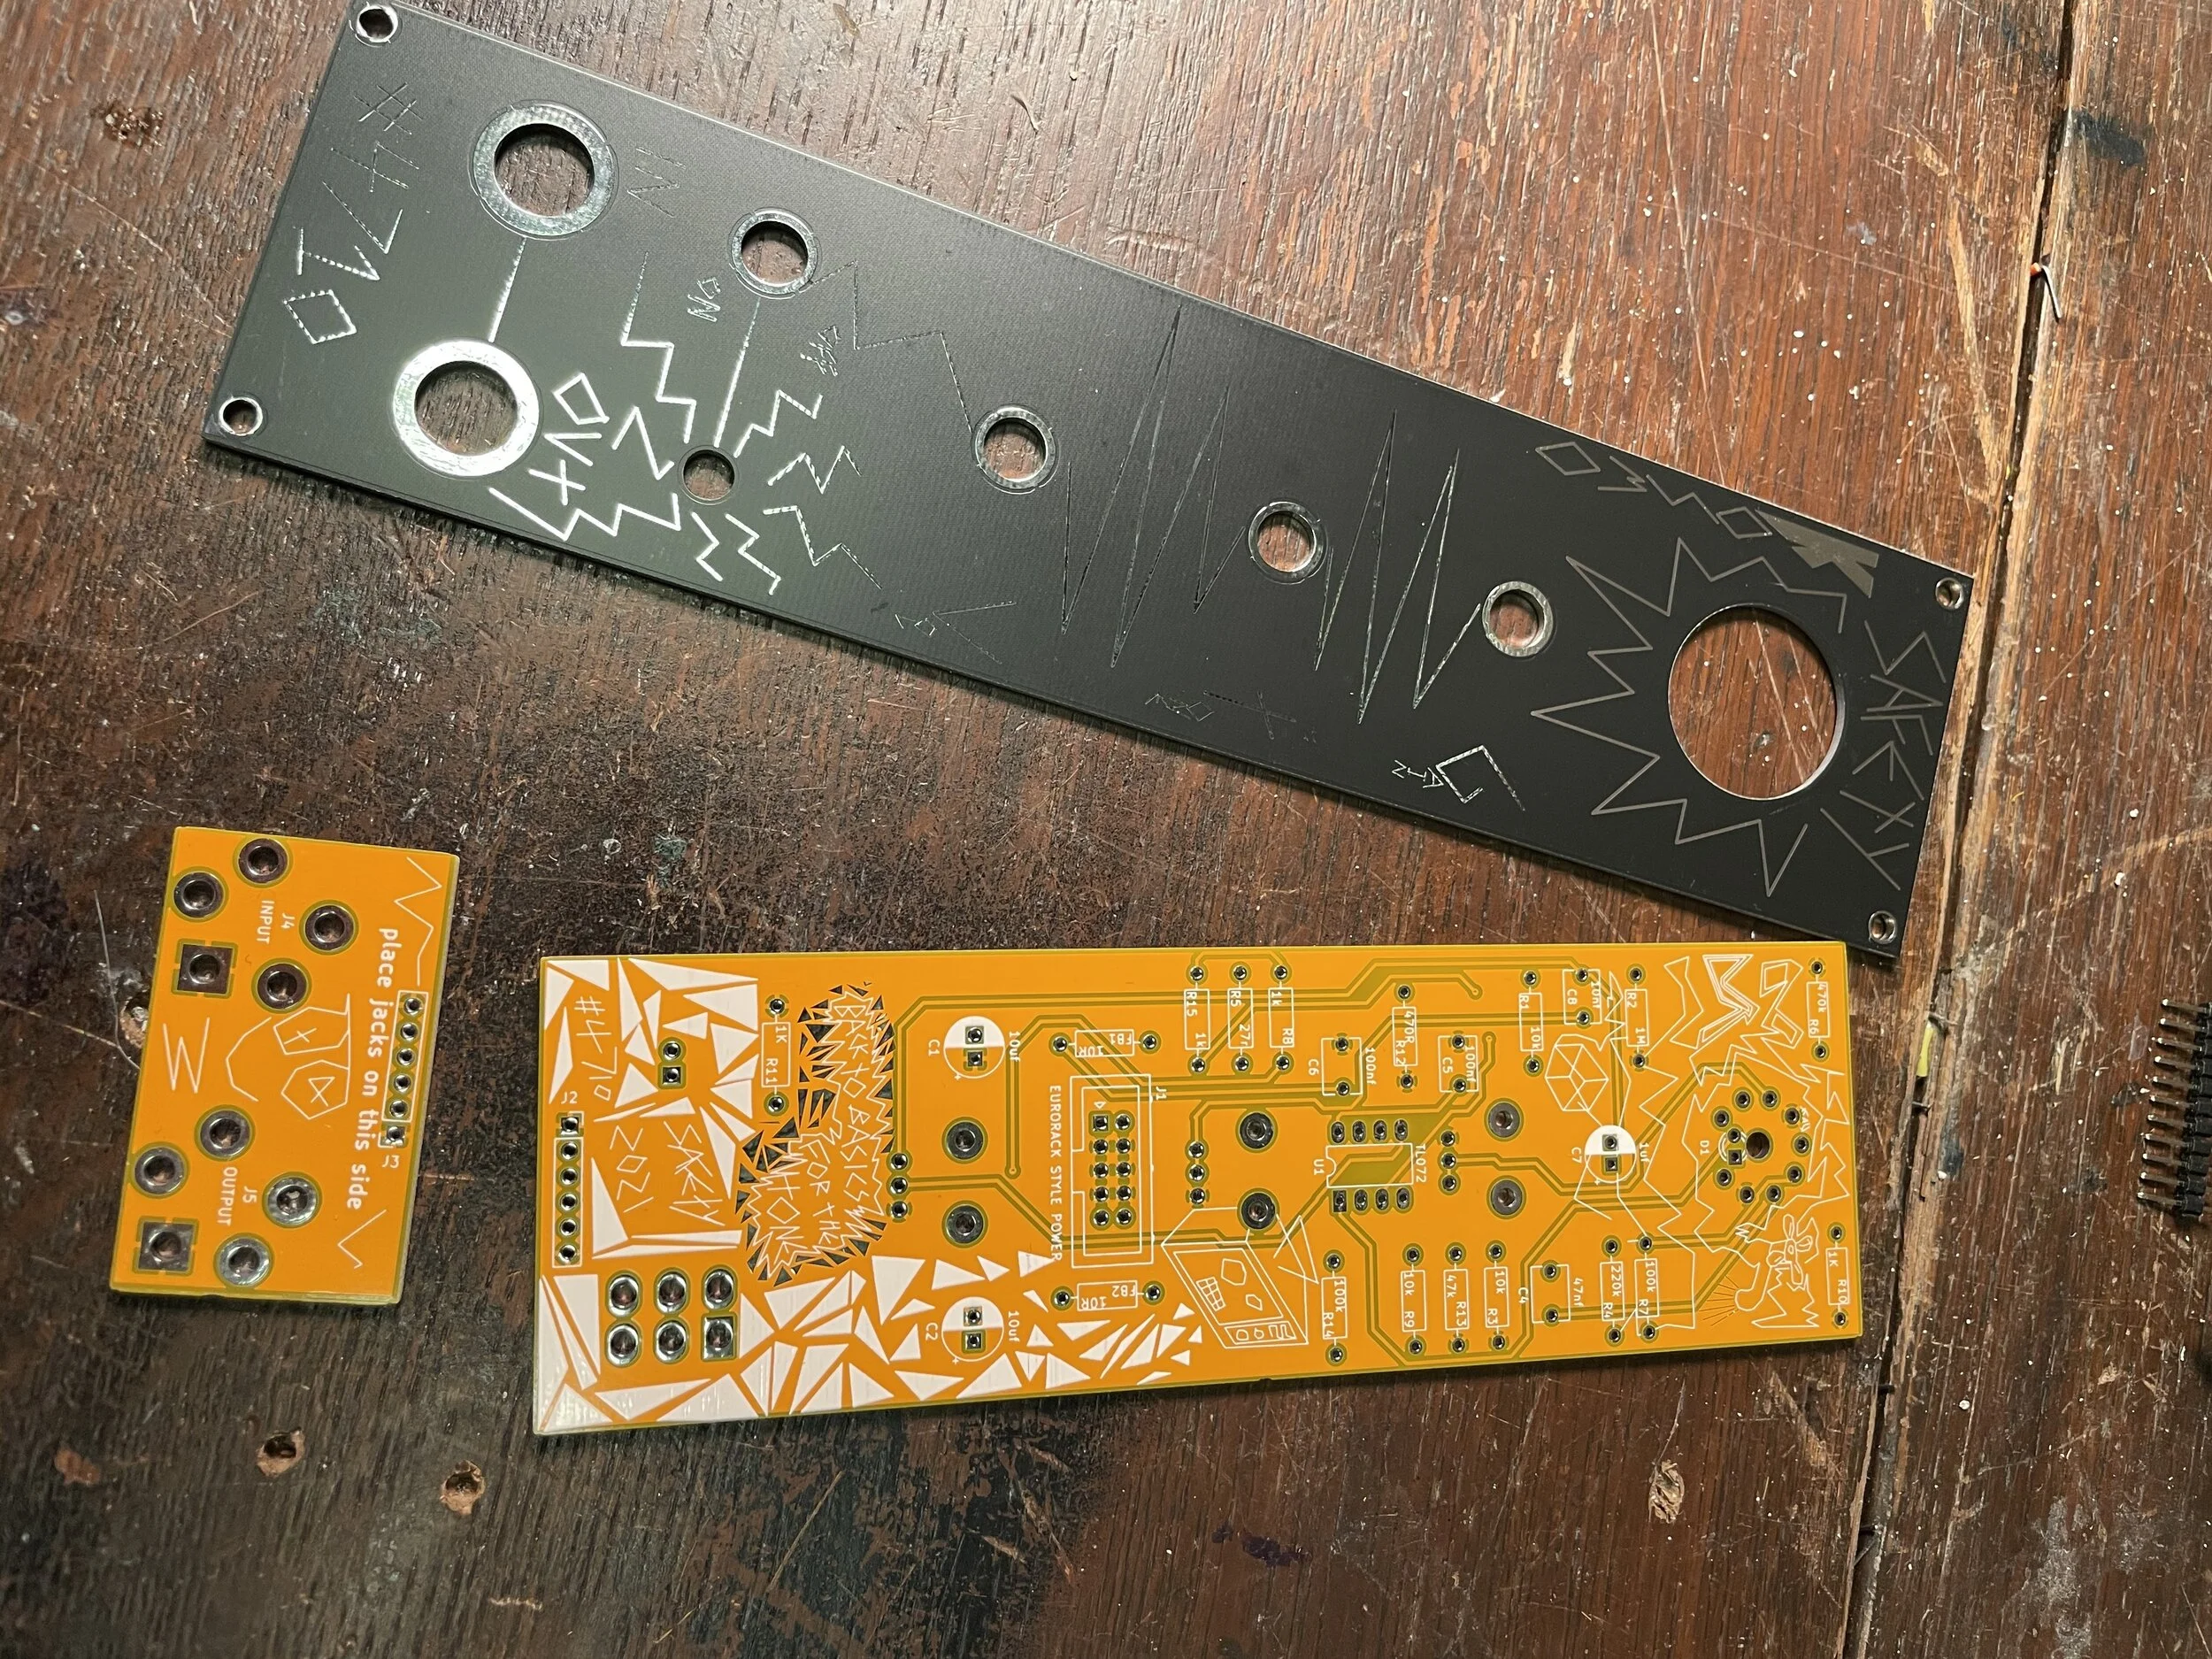

Things to note with the build!
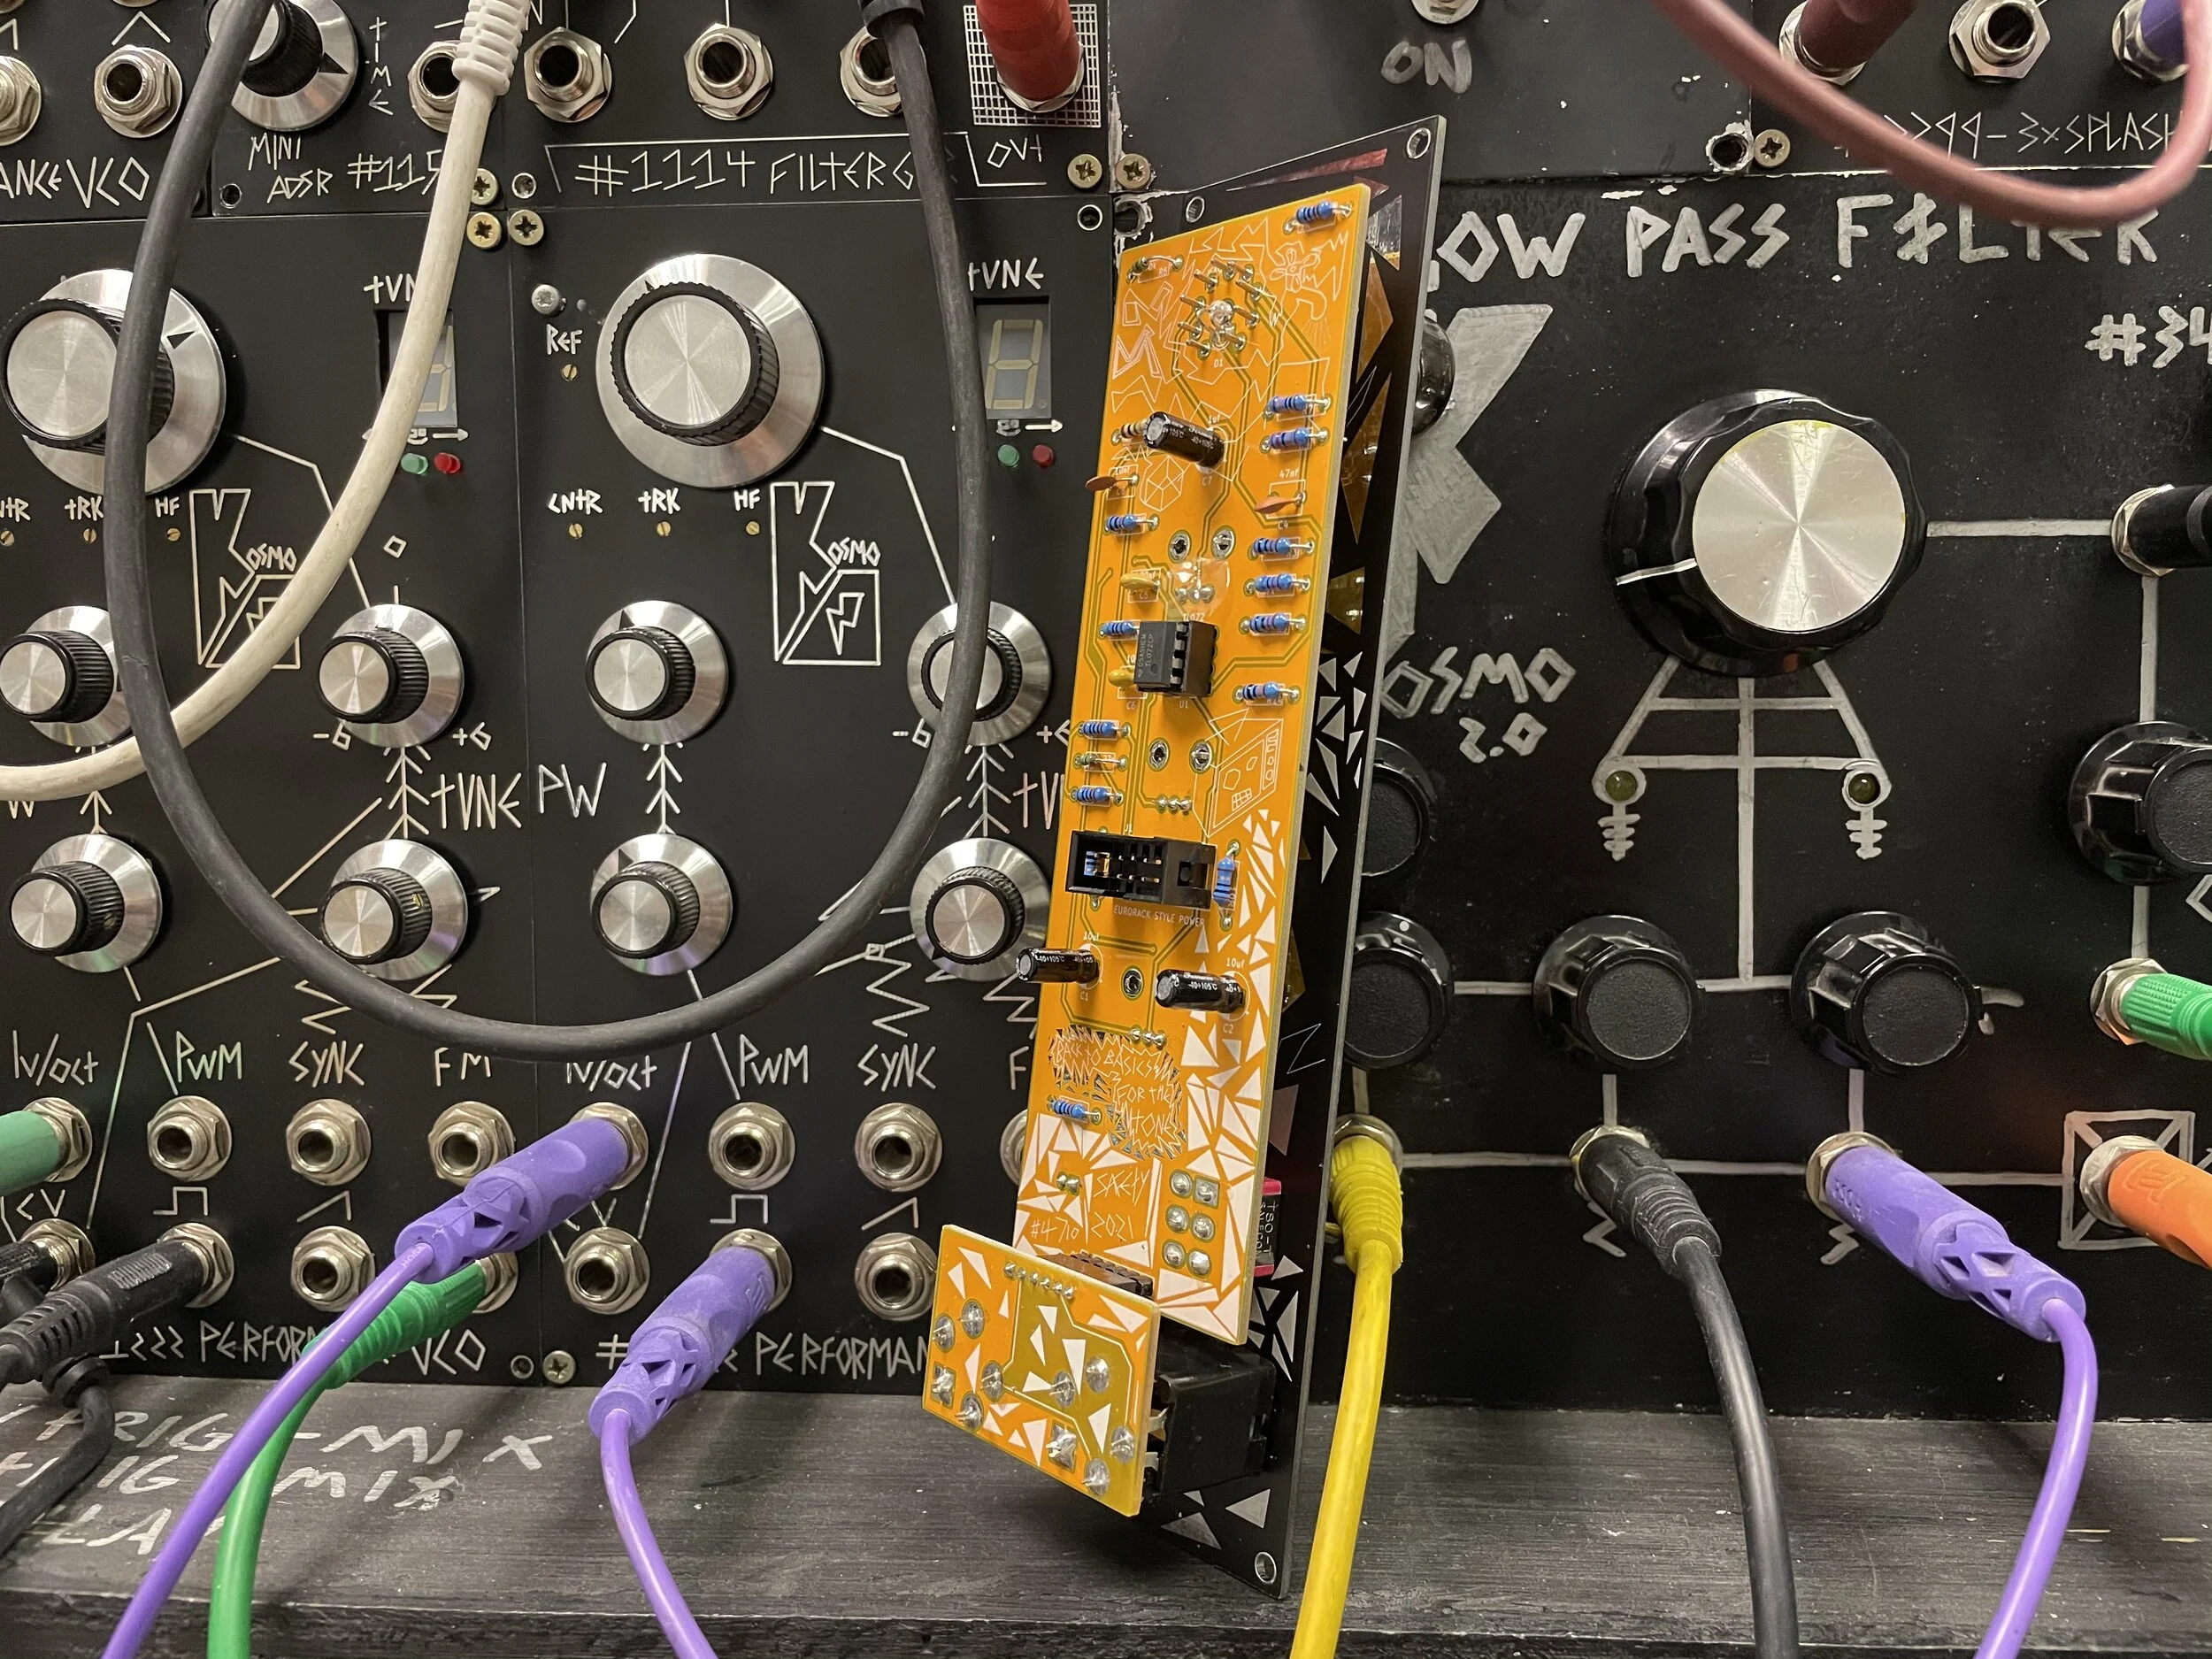
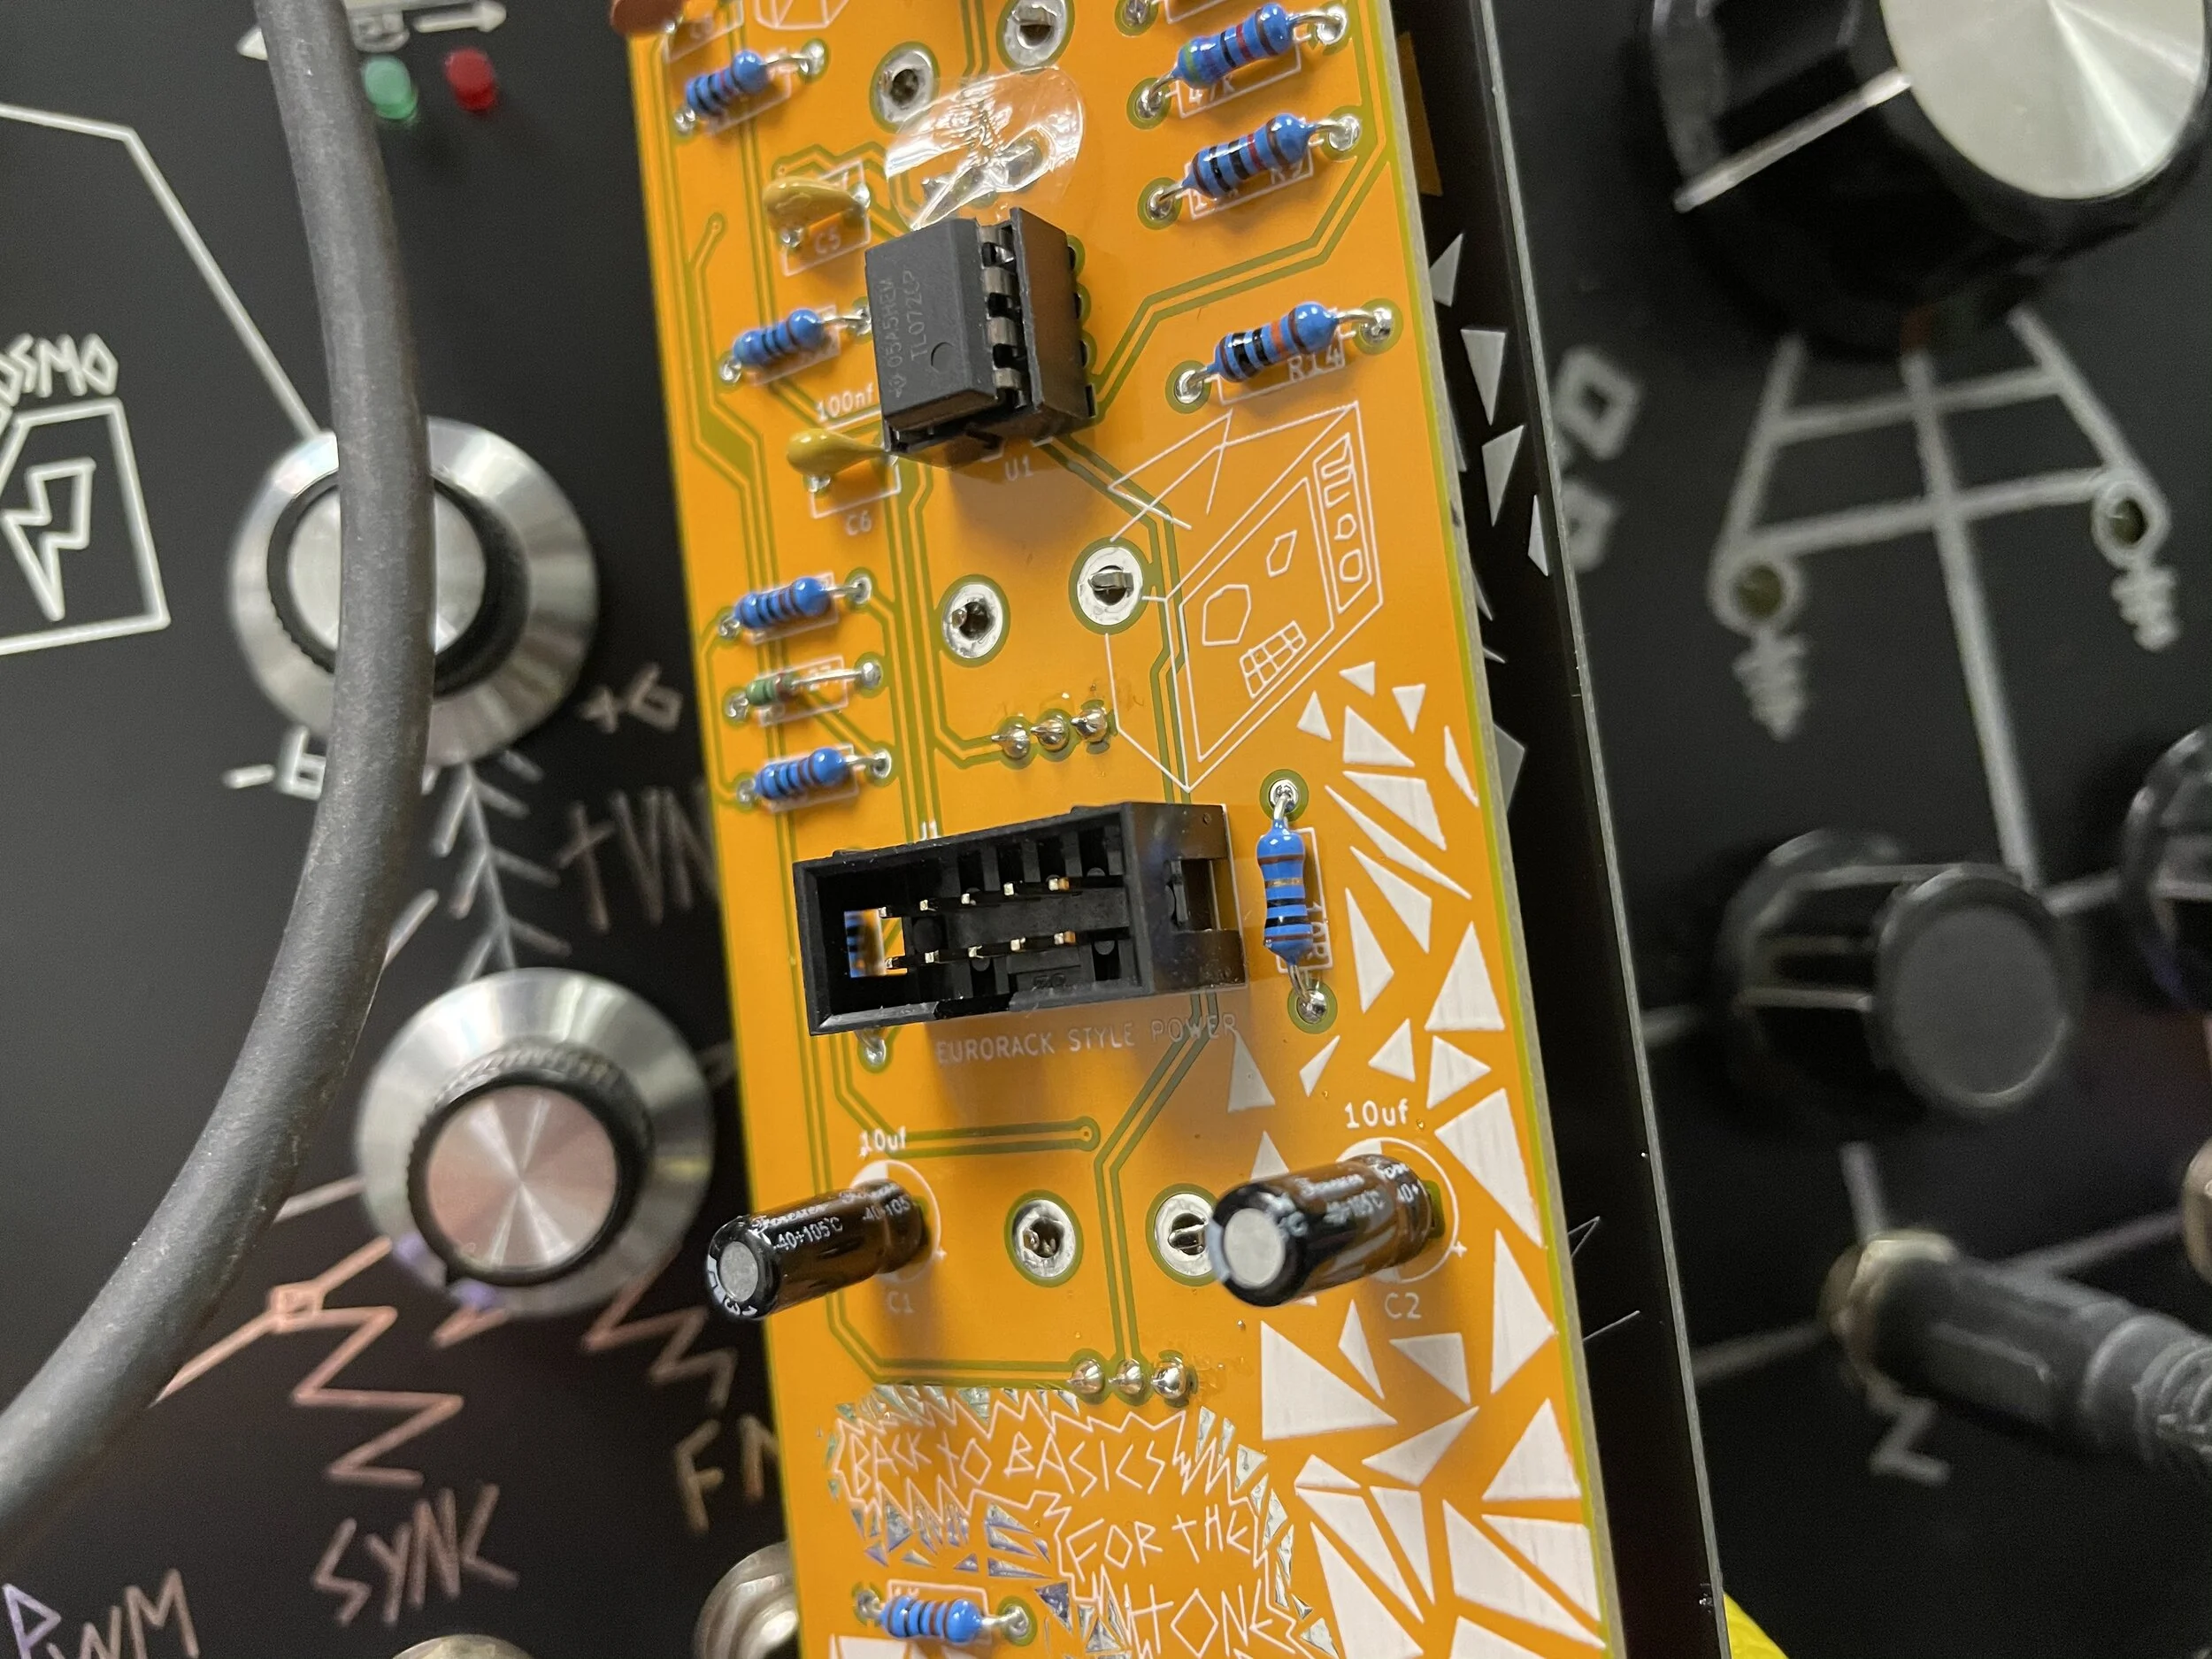
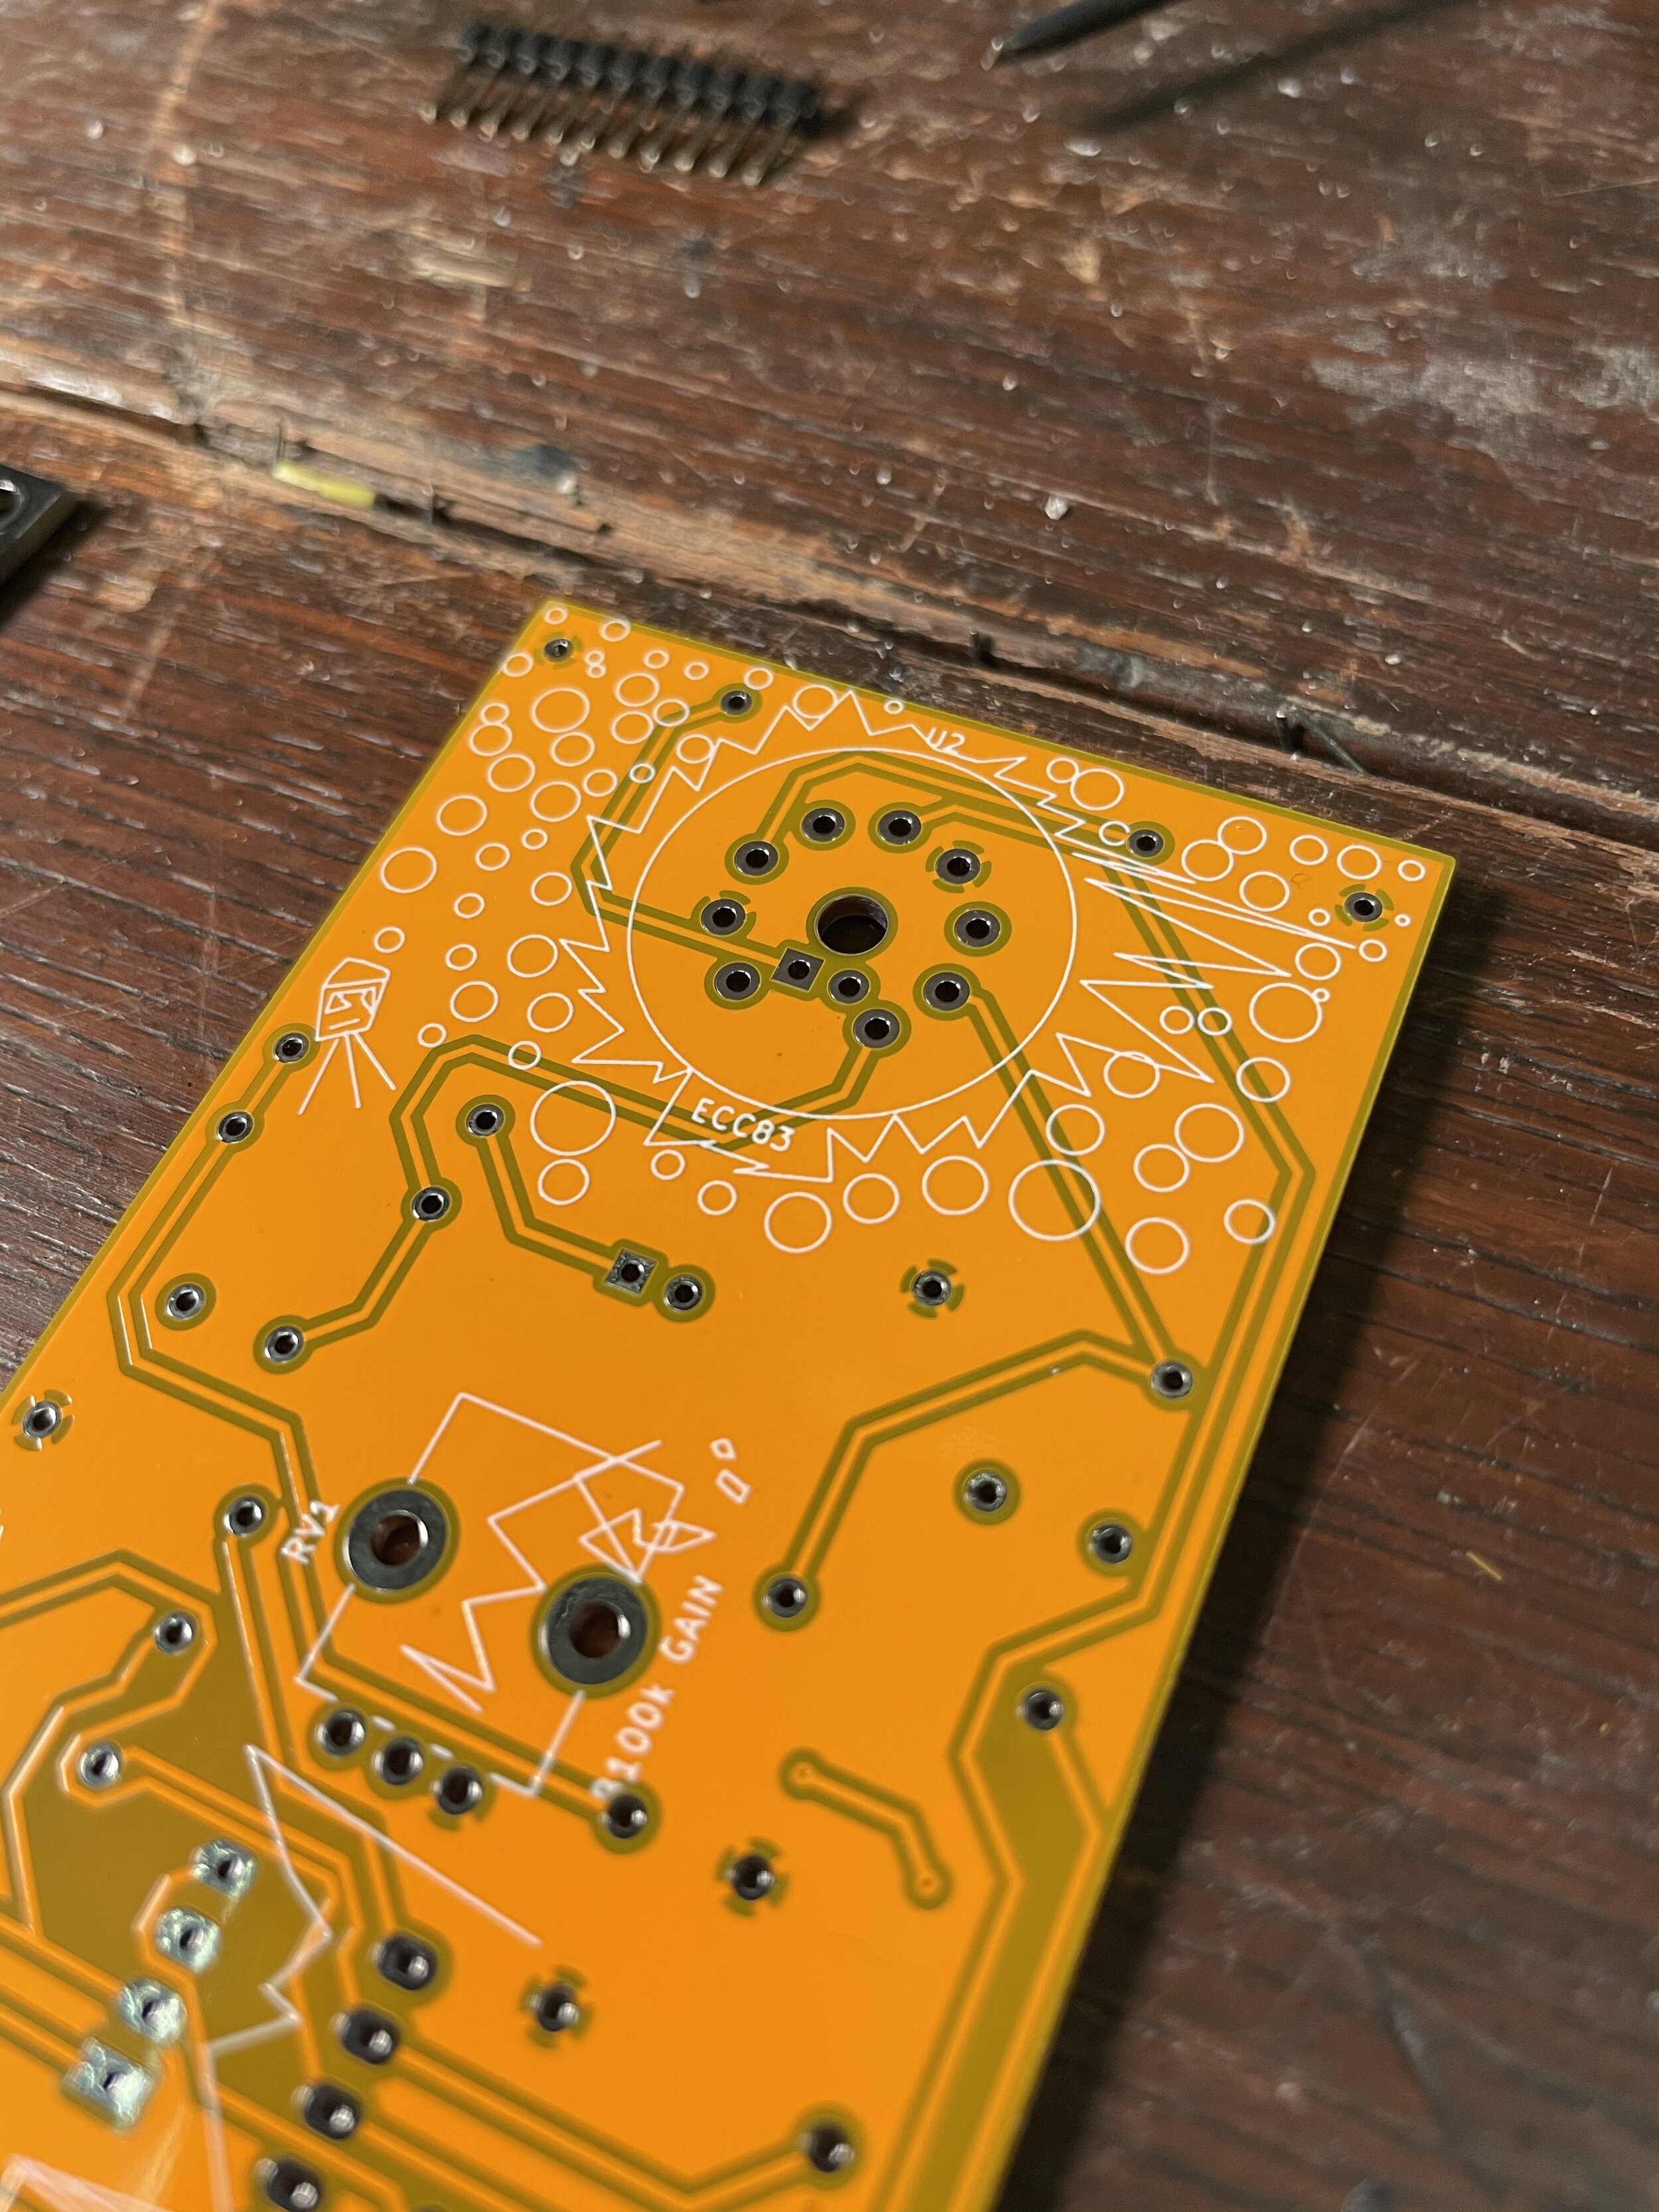
-It is designed for the 12ax7 tube to be soldered straight to the board without a socket to save excessive height. in this module provided you don’t chuck it off a balcony the valve will be fine, in this design it is also running cold so you wont have any worries of it prematurely breaking. It will last just as long if not longer than other components in the module.
-The valve also doesn’t even have to be soldered to function, if your feeling fancy look closely at the module in the above images you will notice i didn’t solder the valve in, the PCB actually holds onto the valve enough to provide sufficient contact, nearly as much as a socket would anyway! I am not sure how this will change over time, but for not it works fine. However if you want reliable and worry free use i would recommend to just solder it on down and forget about it.
-Touching the valve? This is a bit of a myth in respects to the fact that yes in some high temperature high reliability applications valves don’t want to be touched as over time the grease may indeed weaken the glass. But for general use and general purpose valves like the 12ax7 its completely negligible. in-fact this tube in this application doesn’t even get as hot as a cup of PG tips. So dont worry about it.
-Types of 12AX7’s??? its safe to say i have tried a number of them and i can say for the most part the sound is the same. To the point that even these cheap nasty ones actually give a tiny bit more gain than other high end ones i have tested. Also if you’r being pedantic you can actually rub off the label on the tube quite easy. Electro harmonix ones do an adequate job too but like i said an almost un noticeable lighter gain . If i was you i would find the cheapest ones you can find put it in and forget about it, but im not stopping you getting a bunch and seeing if you can tell the difference as like ii said above the pcb does work without soldering in the Tube.
-Status LED! try to get a super bright 3mm LED, it will really make the tube illuminate as the heater filament in this application does not glow much if at all. In theory! a Bi Coloured LED would work too! Dont poke the LED all the way through the hole, just enough so that it is flush with the pcb, this means you can seat the valve right down to the PCB.